
How To Color Grade With Lumetri In Adobe Premiere Pro
Arguably the most user-friendly color correction suite on the market is Premiere Pro’s Lumetri.
Lumetri Color Panel is simple enough to be used by beginners, but has enough advanced and powerful features to be a legitimate tool used in experienced colorists’ workspaces.
So today, we’ll provide a quick overview and tutorial of its main features, and how they can be used to create a cinematic grade.
Lumetri can be added directly to a clip, or used on an adjustment layer for a broader application.
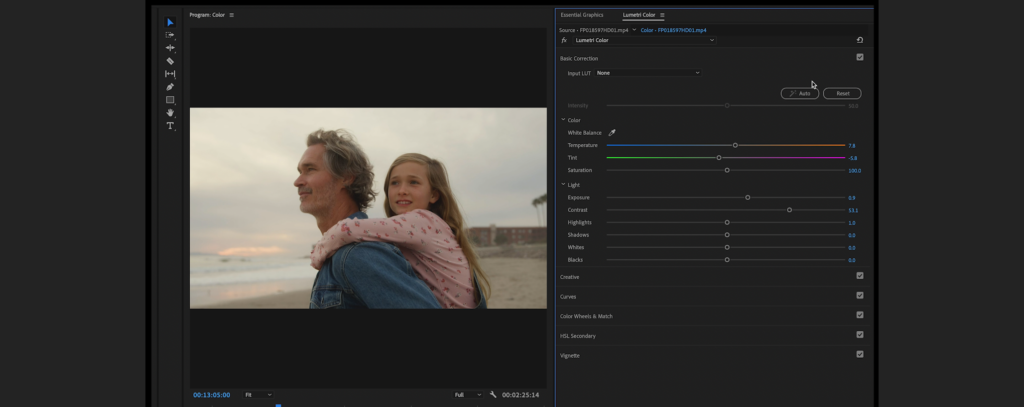
Basic Correction
All of your essential color controls are here. You can import a LUT (short for look up table), adjust white balance and color temperature, control contrast and brightness, and increase or decrease saturation. These are slider-based, which mimic the effects in Lightroom more than those in Photoshop and After Effects.
This is the perfect starting point. In fact, there are lots of scenarios where you wouldn’t even need to leave this panel.
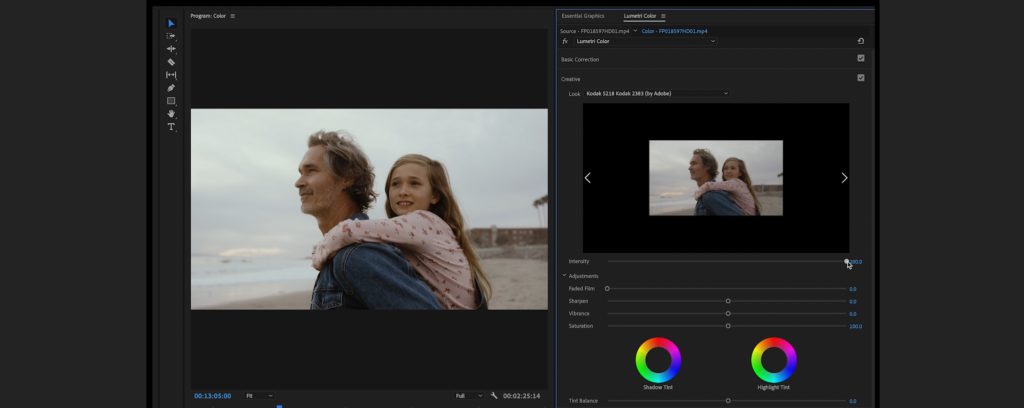
Creative
In this tab, you can apply presets at various intensities. You can also add sharpening, vibrance, saturation, and a “faded film” look. You’re also able to independently change the tint of shadows and highlights.
I don’t personally use this section much, but you can definitely achieve fast results here.
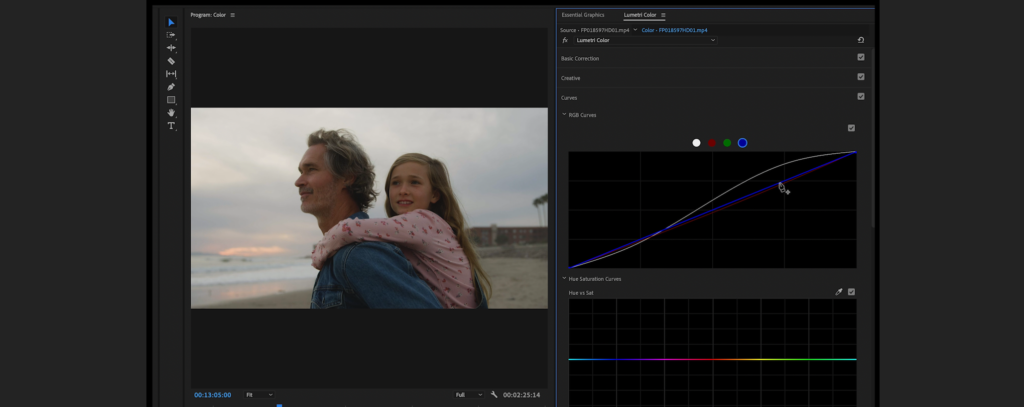
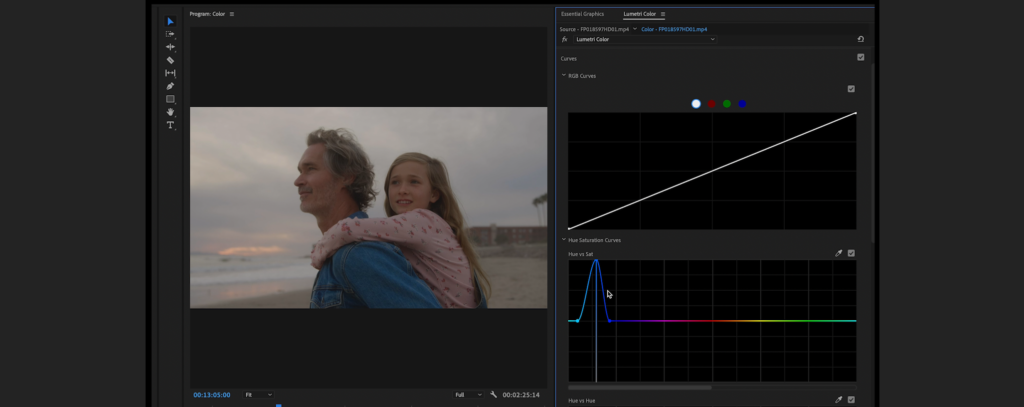
Curves
This is my preferred contrast adjustment tool in Lumetri. You can adjust the brightness values of the entire image (to lighten or darken it and increase or decrease contrast), or just certain color channels via RGB curves, if you want to do color adjustments here.
And perhaps most importantly, there are some advanced tools here such as the hue vs. saturation curve adjustment, which allows you to make saturation adjustments to a specific color in your image.
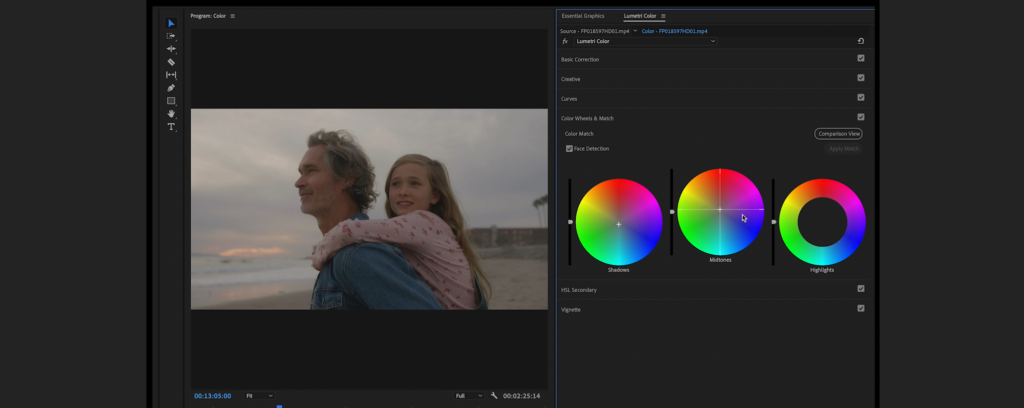
Color Wheels
This might be the most familiar part of Lumetri for those coming from different color programs. With these wheels, you can adjust hue, brightness, and saturation for shadows, midtones, and highlights independently.
There is also a new color match feature, which allows you to reference other images or scenes to ensure consistency.
I typically use color wheels more in the color grading process than in correction, but they can be useful in any setting.
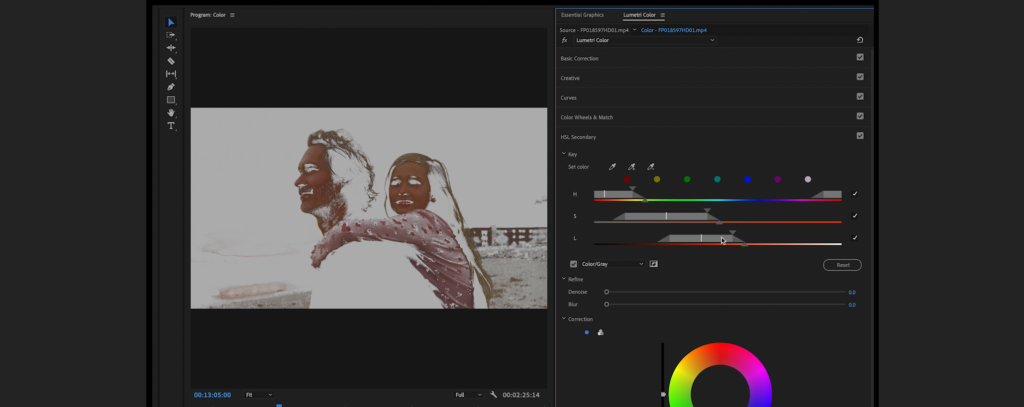
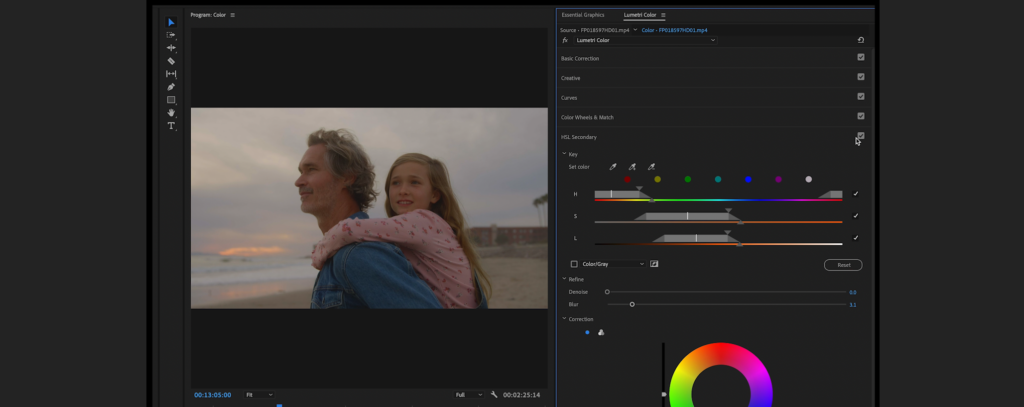
HSL Secondary
This tool is my go-to for adjusting skin tones. You can select a color in your image using a dropper, adjust the sensitivity, and then make detailed adjustments to only that color. You can also use the blur slider to smooth out any hard edges in your selection.
When my subject’s skin tones are looking a bit too red, or not saturated enough, this is the perfect tool to warm up those colors and make everything look natural.
Vignette
I don’t use this tab much either, but it’s great if you just need a quick, basic vignette around the center of your image.
You can change the opacity, falloff, and roundness with sliders as well.
And even beyond its main tools, Lumetri scopes offer an open visual waveform breakdown of an image’s color, luma, and channels.


Summary
When it became available in 2015, Lumetri was arguably the biggest new video editing feature from Adobe Premiere Pro CC in several years. It has since held up, seen numerous upgrades, and remains a vital part of filmmaking workflows and color workspaces all around the globe.
Kevin Graham is the Creative Director at Filmpac.