
What Is White Balance?
When it comes to explaining how to use a camera’s white balance function (also known as color balance), it’s important to first understand why it’s needed in the first place.
In terms of color, not all light is created equal. A light source’s color temperature, measured in units called Kelvin, can vary dramatically.
How White Balance Is Measured
Common filmmaking and cinematography benchmarks are values of 3,200K, called “Tungsten Light”, and of 5,600K, called “Daylight”.
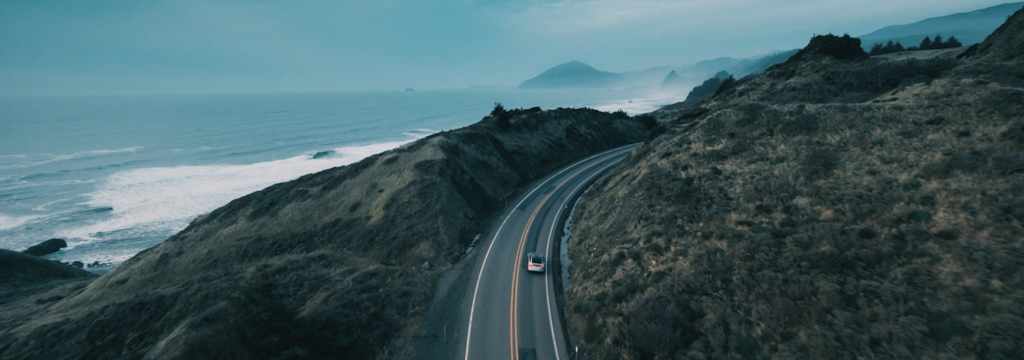
A fully cloudy day will produce an ambient color temperature (or color cast) of around 10,000 degrees Kelvin (which is as “blue” as natural light can get.)
Conversely, the orange flame from a candle measures at around 1,000K.
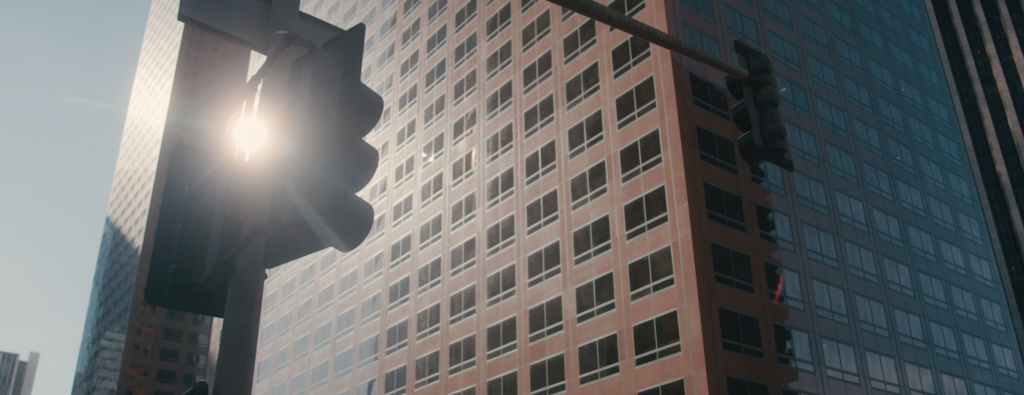
Sunlight at noon is considered to be “neutral”, at around 5,200K.


Cameras Vs Human Eyes
Although our eyes can obviously tell the difference between golden light at sunset and a sterile fluorescent light bulb, our brains do a remarkable job of correcting shifts in ambient light color to appear “neutral” to us, in response to different color and different lighting conditions.
This means on a cloudy day, the world doesn’t look too blue, and at sunset, it doesn’t look too yellow.
If you own a pair of tinted sunglasses, you can see this firsthand. Put them on, and you’ll notice that while everything looks tinted at first, it all begins to look “normal” after several minutes. Then take them off. If the sunglasses had an orange or sepia tint, everything will now appear blue in color! But after a moment, your eyes will adjust back again. This is a cool experiment to show you just how powerful and tricky our brains can be when processing information from our eyes.
But our cameras weren’t born with this trait, so instead, they have the ability to either manually or automatically correct for an image’s ambient light color, whether it’s from natural or artificial light.
This is called white balance.
White balance is simply the camera injecting a color shift into the image captured by the sensor, to compensate for the scene’s lighting.
For example, if you’re filming a subject in a room filled with incandescent lights, and you want their skin tones to appear neutral, you will set white balance to match the warm color temperature of the scene. The camera will then add enough “blue” into the image to balance out the warmth of the lights, therefore creating a neutral color.
Or if you’re filming a subject on a cloudy day, the opposite would happen; you’d set your white balance to match the light source, and the camera adds yellow to the image to balance it out.

Adjusting White Balance
Cameras will generally have three different types of white balance settings: auto (AWB), custom, and various presets.
Auto white balance will automatically compensate for a scene’s lighting, in real time. This can be a really useful feature for run-and-gun still photography, but should always be avoided in video. This is because the white balance changes in real-time and is often noticeable; the last thing you want to see in your shot is the color temperature shifting right before your eyes every time a cloud passes overhead!
Custom white balance is the most robust setting. It allows you to choose a custom Kelvin value to perfectly match your scene. This is especially useful if you’re filming in a mixed-light environment, such as a tungsten-lit room with daylight coming through a window. But this setting requires at least a basic understanding of the color temperature of your scene. You can measure this with a light meter, or just eyeball the image in your camera’s monitor.
Most digital cameras have several white balance presets, including full sunlight, incandescent, fluorescent, flash, cloudy, and shade. These make for great, quick selections if you’re moving around and each shot potentially has a different light source. You can also use these presets as starting points, and further customize your white balance settings from there.
A common practice for cinematographers, especially for interview or scripted setups, is to place a color card in the shot before rolling, and either manually adjust white balance until that card’s white square appears neutral, or use the automatic white balance function on certain cameras to precisely dial in the camera’s settings.
You can also change an image’s tint between green and magenta, as certain types of bulbs can affect these values as well. These are typically represented by simple numeric values and are not measured in Kelvin.
But inevitably, you’ll need to make some white balance adjustments in post-production, whether you’re working with video or stills. Some pieces of software have auto white balance functions, but all will have at least a slider or set of color wheels that allow you to correct for any white balance mistakes made on set.
Obviously, you want to shoot things correctly to begin with, but you’d be amazed at how you can save a seemingly useless shot with some clever color correction and a bit of patience.
If you’re shooting in raw, white balance settings will not matter, as you can completely change this sensor data upon importing to the edit.

Summary
So, to summarize, white balance is a corrective tool that your camera uses to create a “neutral” colored image, no matter the color temperature of the light source. And the best way to master this function is to simply get out there and experiment.
Before long, you’ll have the experience and skills to make the colors of your images as realistic as what you see with your own eyes.
Kevin Graham is the Music Director at Filmpac.