Filmpac Footage Contributor Program
Want to make money selling footage through a major stock footage platform like Filmpac? This page will walk you through the processs.
Continue Reading
By Caleb Rexius
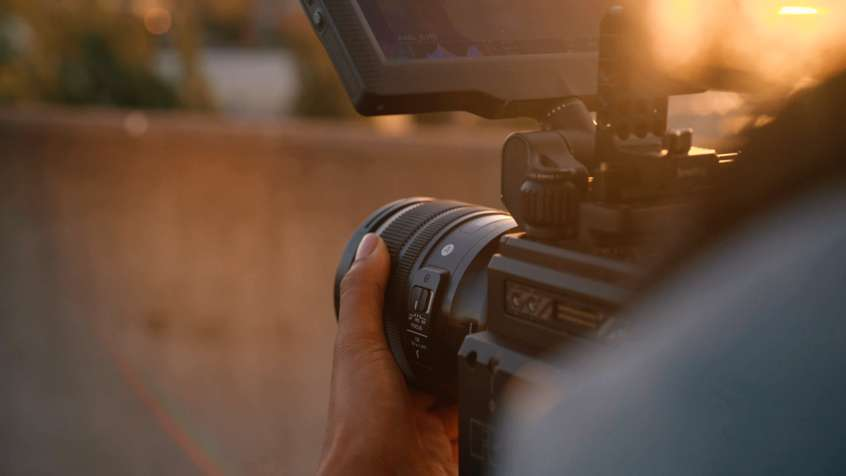
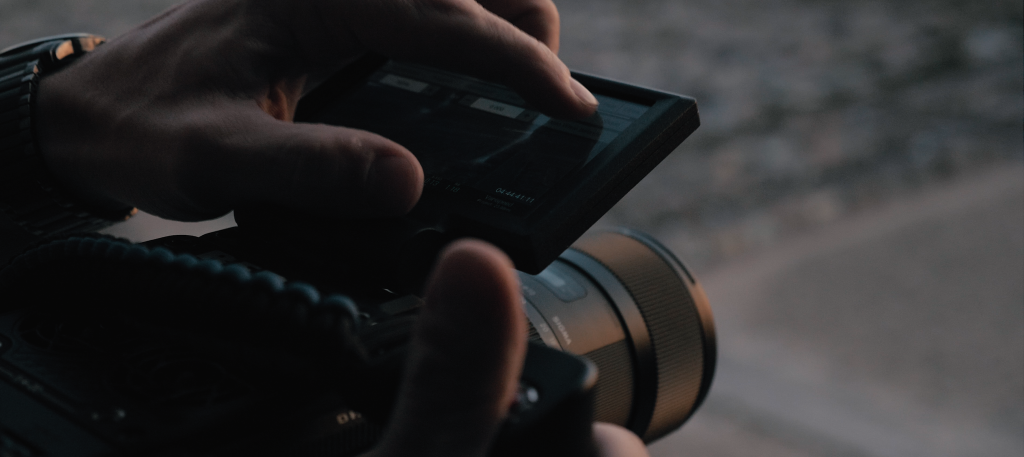
As cinematographers, when we think about getting a bird’s eye view, there are a number of ways to capture aerial footage and aerial photography.
Drones like the DJI Mavic, DJI Mini Phantom, or even the Inspire (widely considered some of the best drones) are clearly the easiest and most accessible way to get aerial shots.
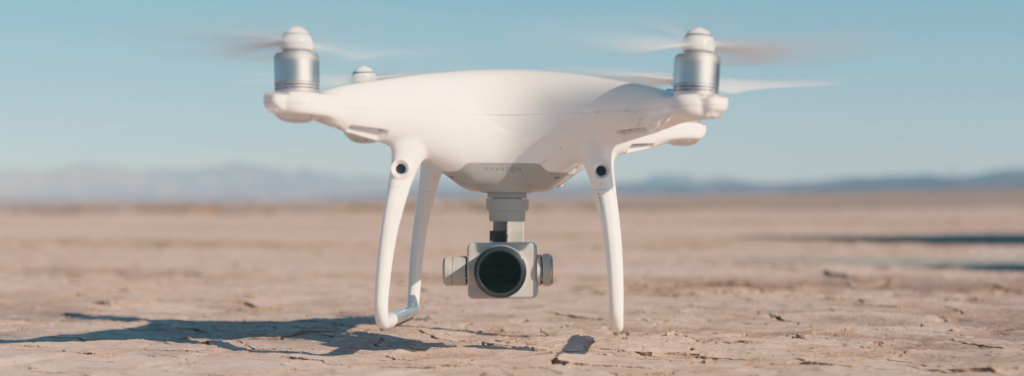
The downsides: sometimes, the image quality is not the best, which depends on the drone operator’s camera system. Your camera movement in the sky and battery life can be limited. And sometimes, your flight zone is restricted.
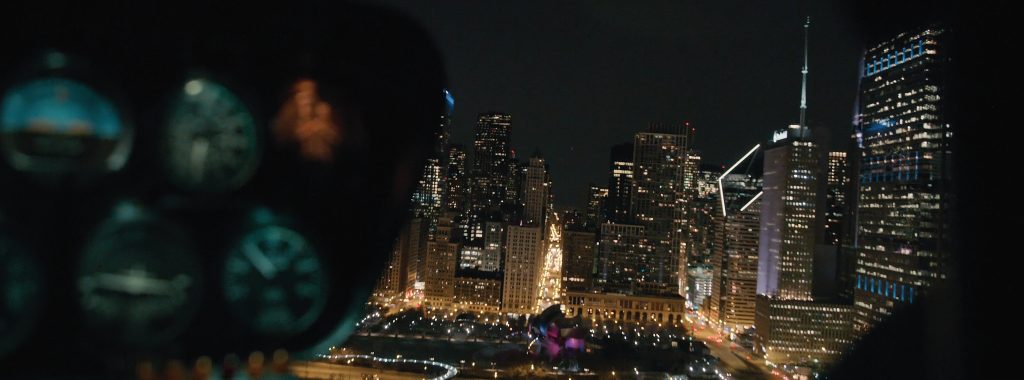
Drone pilots (uhhh…myself included) are just notorious for breaking the FAA guidelines on where and when to fly (like traffic, crowds, buildings, night time, parks, etc.).
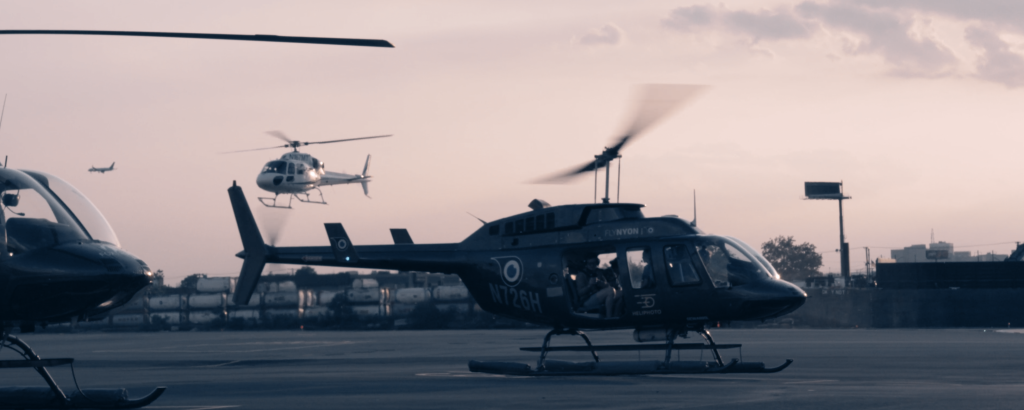
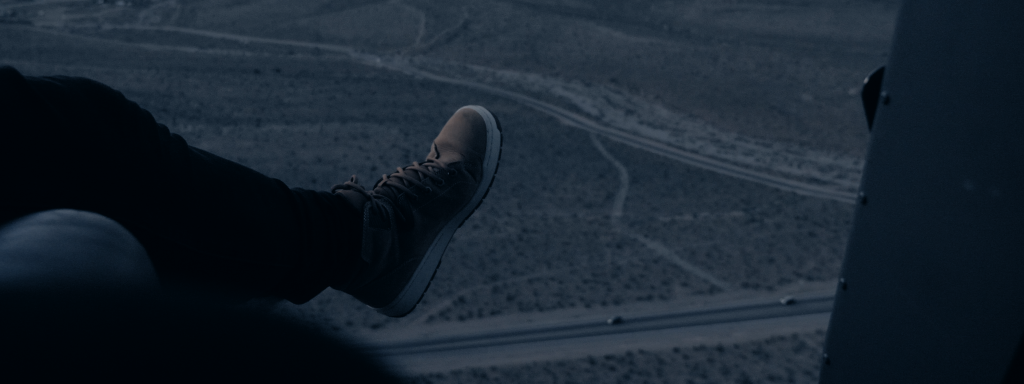
So today, we’re going to talk about one of my favorite alternatives: helicopters (sometimes called helicam).
I love helicopter rides. I have them take my door off, and I just film out the side. And I don’t tell my mom about it until I’m safe on the ground after the flight.
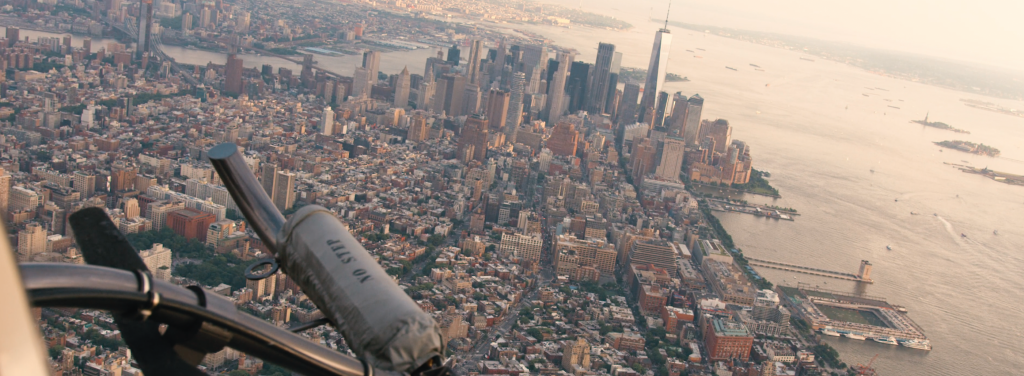
Some of my most favorite shots I’ve ever captured came from inside of a helicopter. And with the right stabilization in post, you can get some pretty silky smooth shots.
Ideally, we’d have a gimbal attached to the helicopter. But those can be pretty complicated and very expensive, so depending on your use and application, hiring a pilot to fly you around for an hour can be pretty simple and very cost-effective.
Here are my helicopter cinematography tips:
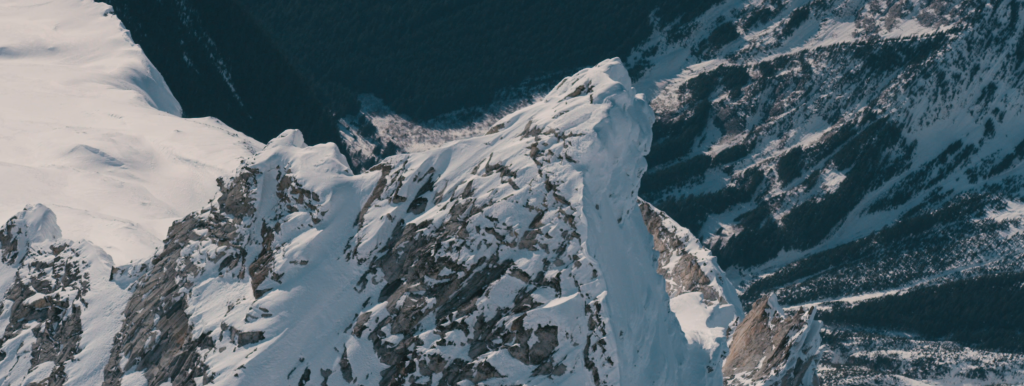
It gets windy and cold up there. Man, I’ve had some frigid flights.
Your camera needs to be attached to you, not just held in your hands. They will require this.
Don’t do the planned-out tours with other tourists on board. I’ve gone this route, and its just a hot mess. They cancel flights, people are in your way, and there’s more restrictions. It’s just not as good. But it is cheaper.
I say hire a pilot that you can direct. Which leads to my next point….
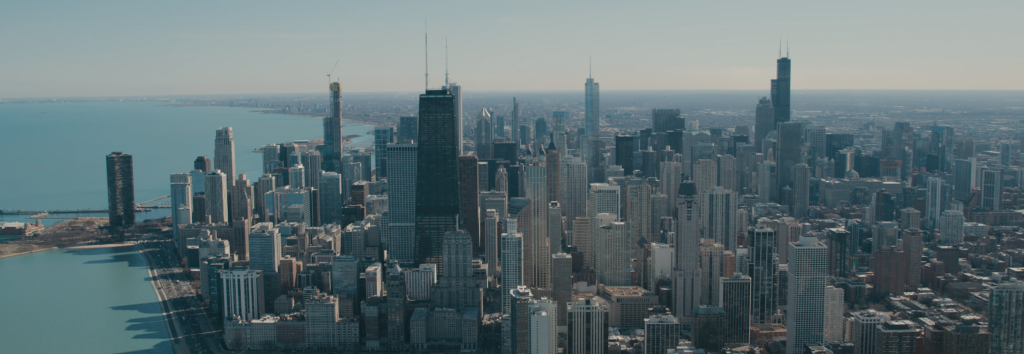
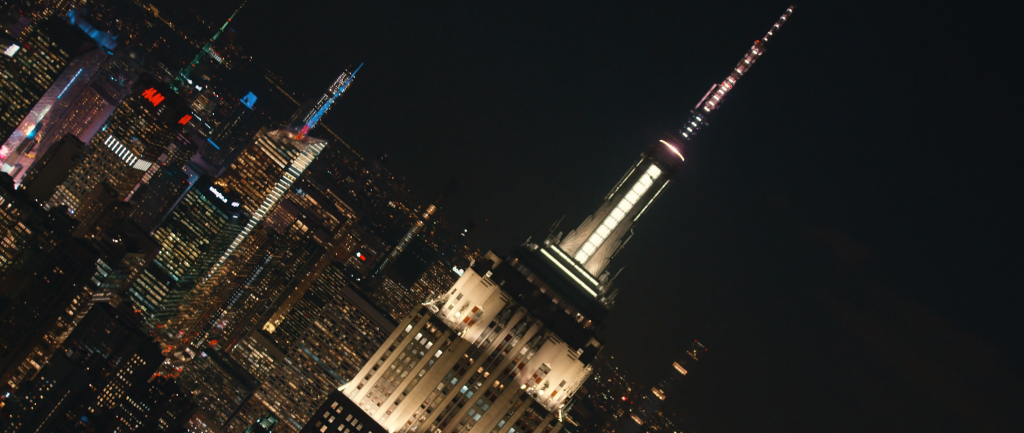
I always explain to the pilot during prep and load-in what I’m doing and what I’m after, which is this: I want to fly low and close to buildings and landmarks.
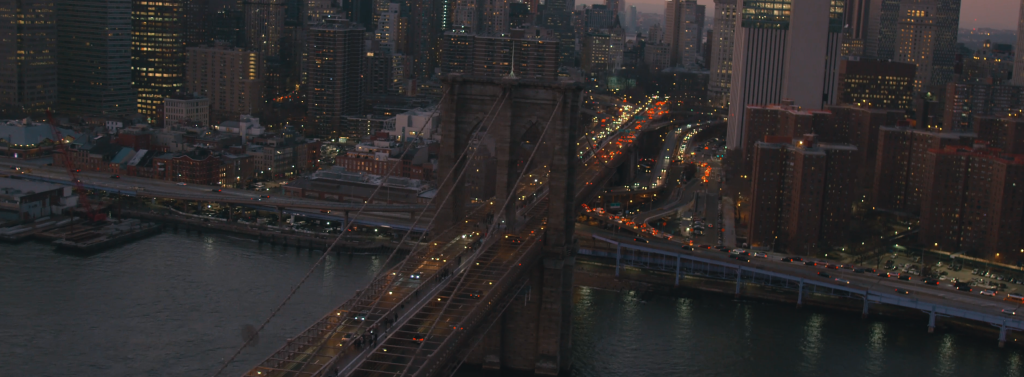
Every minute of flight time costs money, if you want to circle around the Brooklyn bridge a few extra times (for example), just know that it’s going to cost you.
Some people are afraid of flying, some get anxiety, some are afraid of heights, and some get motion sickness easily. If you’re one these types of people, the heli ride is definitely not for you.
One of my favorite cinematic compositions is the dutch angle, and that’s a tough angle to get with most drones. So while I have my camera in my hands, I like to grab slightly off-balance or fully-angled shots. This distinguishes itself from standard wide-angle, straight-on drone footage we’re all accustomed to seeing.
Now onto the more technical side…
Use that zoom, but be weary of really zoomed-in shots. I generally shoot with a 24-70, and I use the entire range during the flight. However, the more zoomed-in you get, the more exaggerated the turbulence and shakiness will be. So be careful. One time, I shot with a 70-200 on a 2x Red Raven crop, and it was very, very difficult.
I generally shoot at a high frame rate when I’m up in the air, usually 60-120 fps, as it allows for a smoother end product. It’s just easier to stabilize. And actually, I’ve found that sometimes you’re moving pretty quickly past things, so it’s nice to be able to slow down that moment a bit.
Lastly, break the 180 degree rule for your shutter speed. It gets a little complicated, but give me a few sentences to explain.
In normal shooting conditions, we usually want to double our framerate. So if we’re shooting at 24 fps, our shutter should be at 1/48, right? Well, because we know for a fact we’re going to need to stabilize the footage, I recommend shooting at a higher shutter speed (probably 4x the framerate). This will make the stabilized footage look better, because we will have less motion blur from the turbulence. More on shutter speeds in another video, but simply put, it all comes down to unnecessary motion blur.
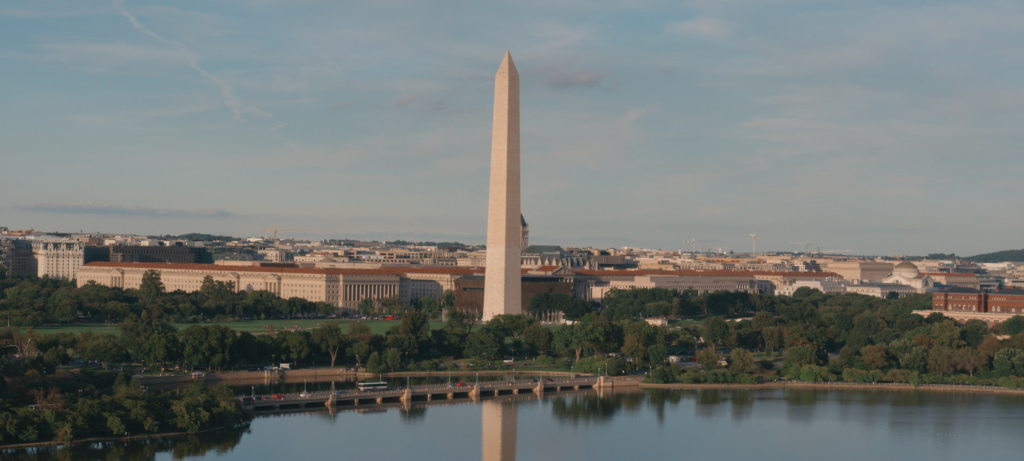
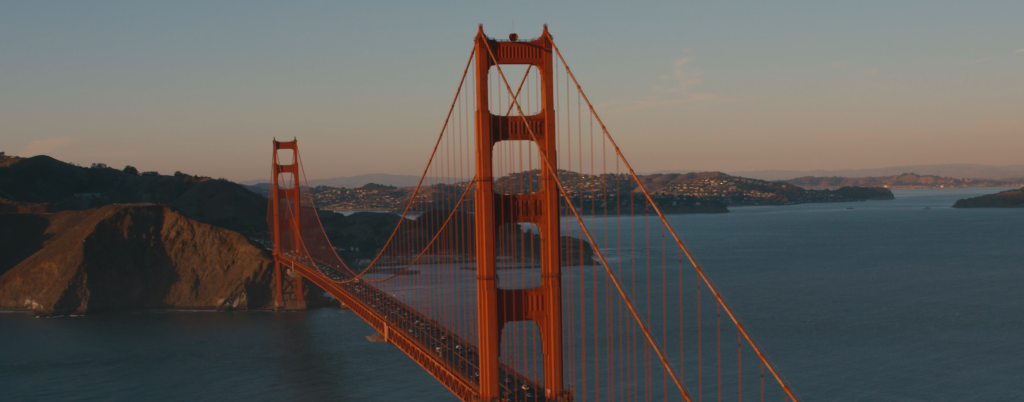
Another note I wanted to add here is that all the aerial cinematography you see is available at filmpac.com
I hope you all can get out there and try this in your next video production. I know it’s not always the most feasible, depending on your location and the money you have to spend, but aerial filming has been one of my favorite activities as a filmmaker.
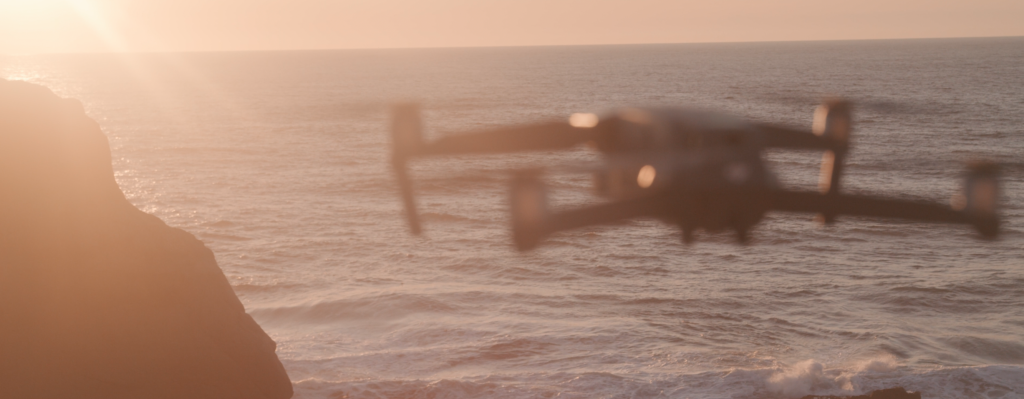
And if you can’t get in the chopper for some reason, drone cinematography is great, too.
Thanks for reading!
Want to make money selling footage through a major stock footage platform like Filmpac? This page will walk you through the processs.
Continue Reading
By far, the two most common frame rates in modern American video editing and production are 24fps and 29.97fps. Here's the difference.
Continue Reading
There are 5 main types of camera movement. We break each of them down and show you how they can help you tell your stories better.
Continue Reading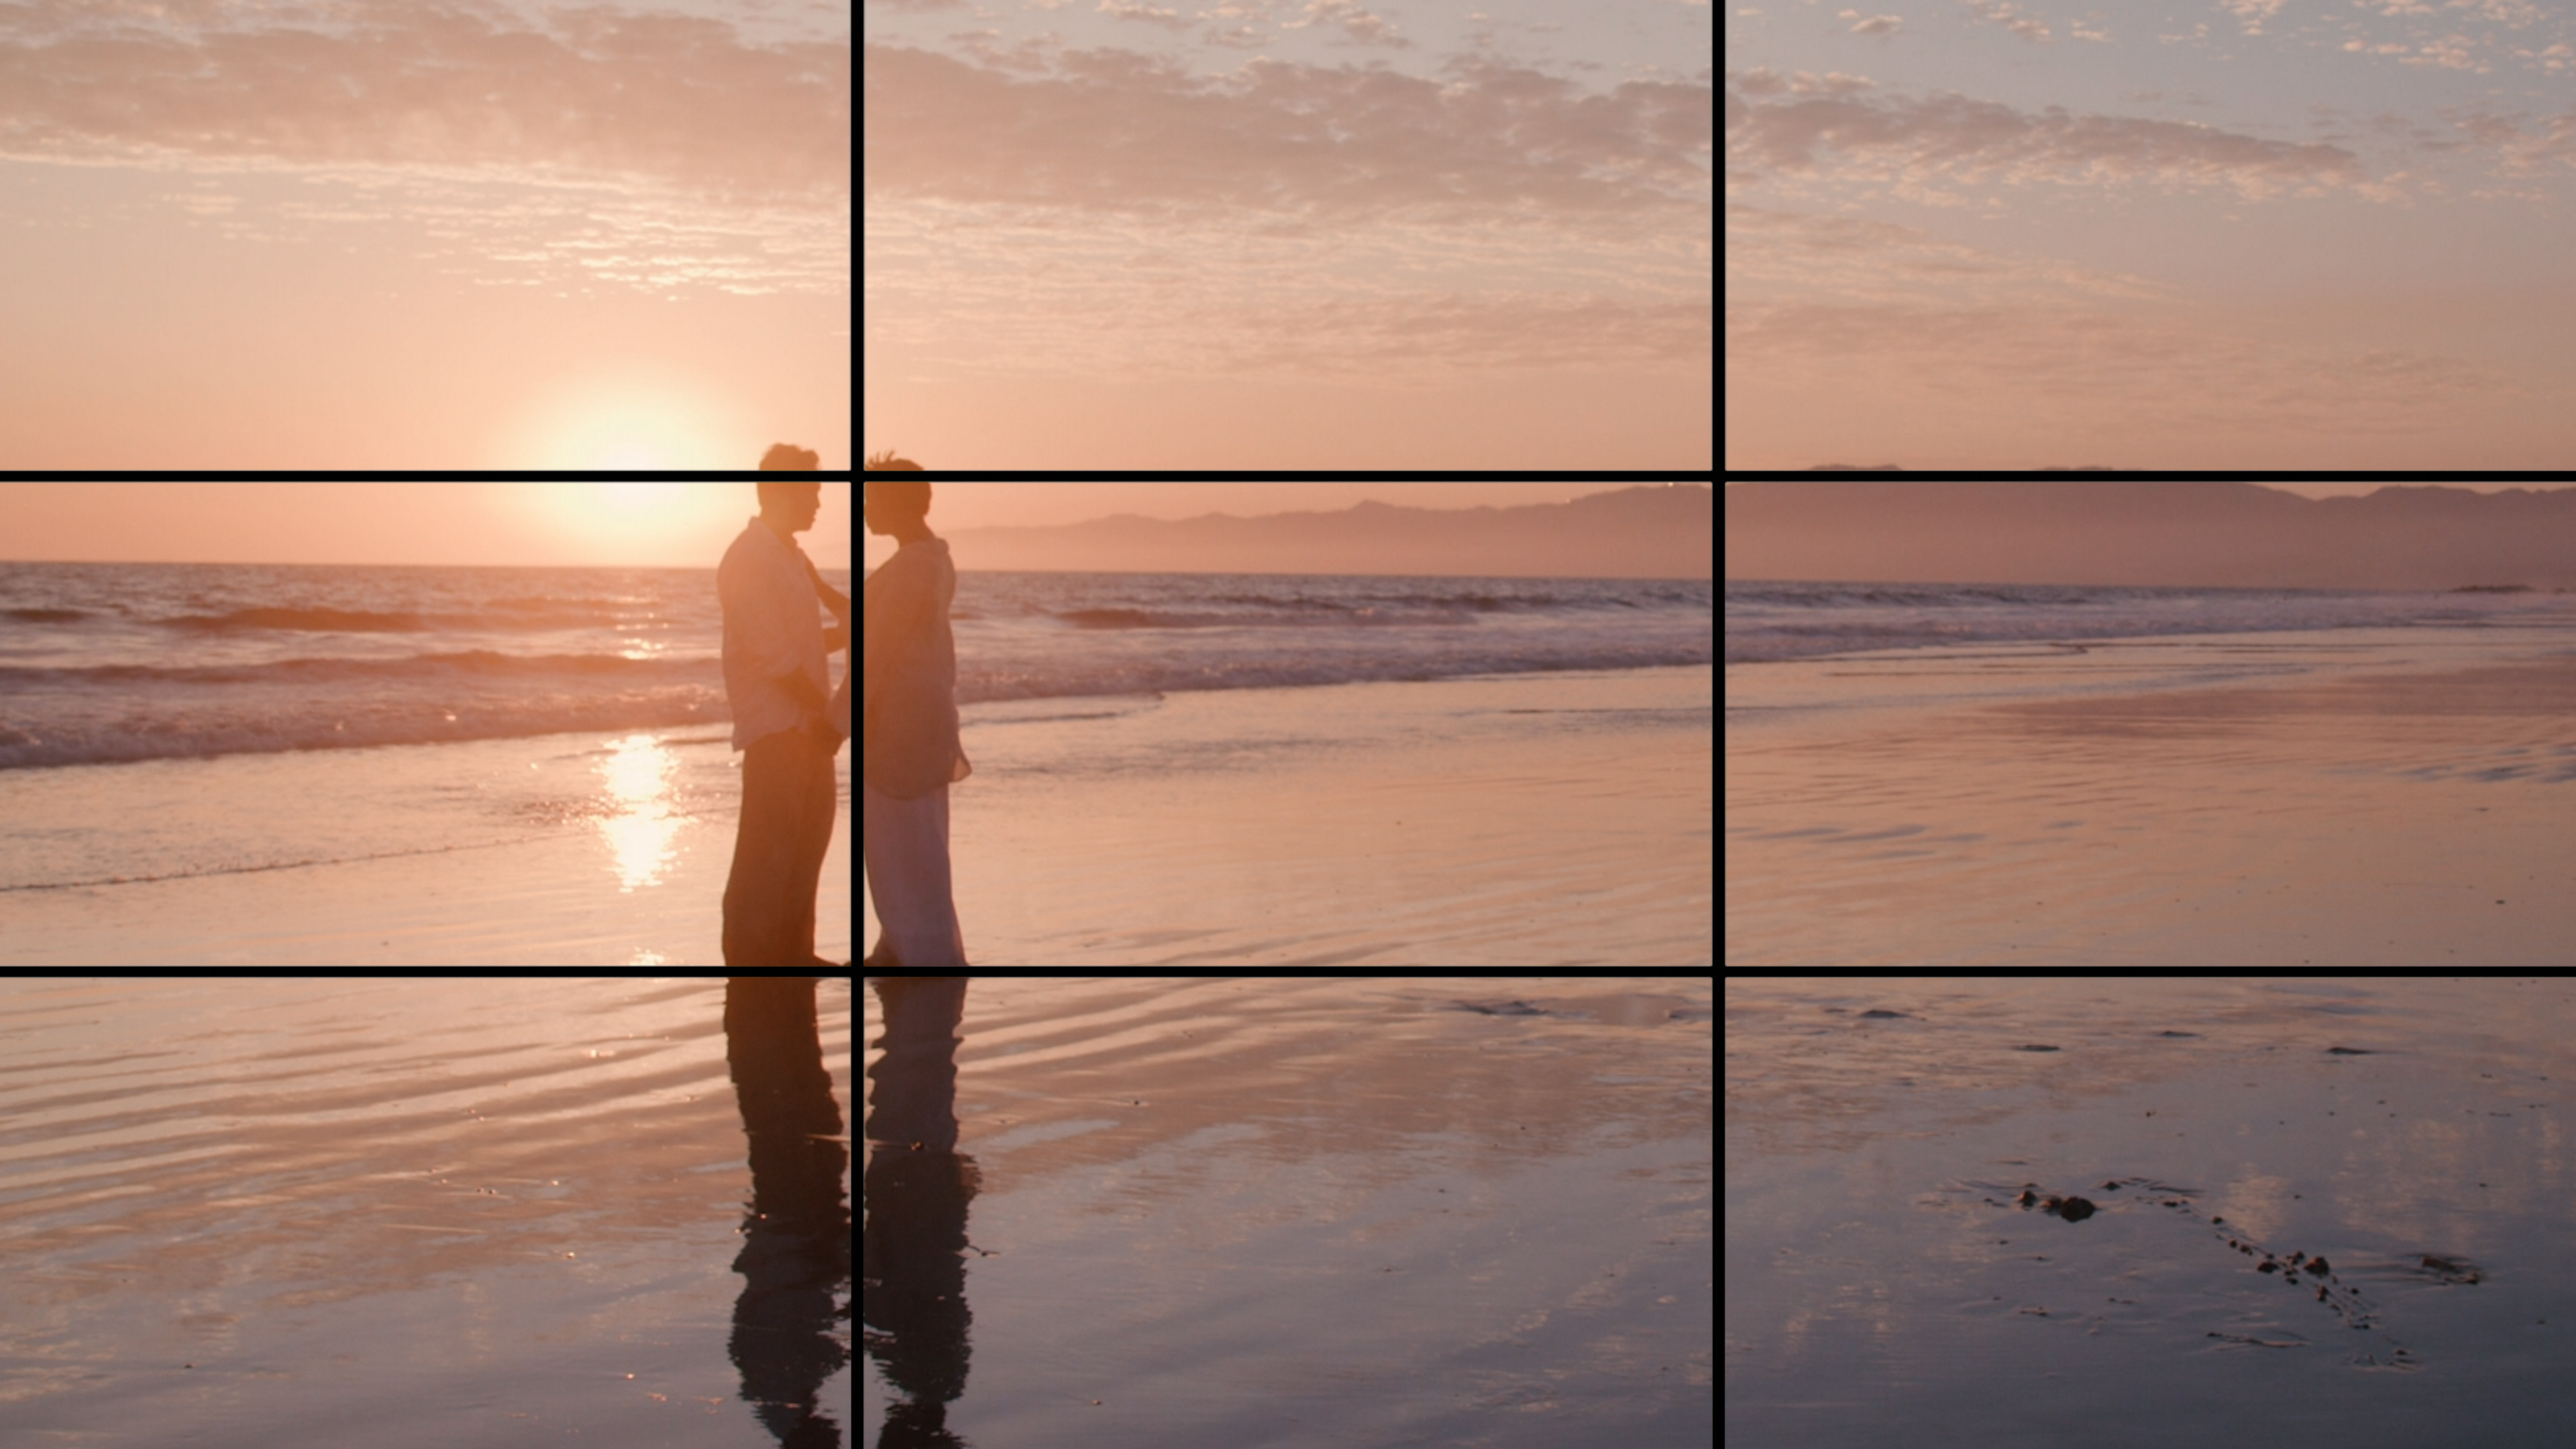
If you’re a photographer or filmmaker, you’ve likely heard of The Rule Of Thirds. here's a guide on how to apply it and when to break it.
Continue Reading
Filmpac’s newly-designed Project Feature is a powerful tool for collaborative video editing. Here’s a quick rundown of how it works.
Continue Reading
One of the most difficult parts of being a professional filmmaker is effectively managing and budgeting your time.
Continue Reading
Want to make money selling footage through a major stock footage platform like Filmpac? This page will walk you through the processs.
Continue Reading