Filmpac Footage Contributor Program
Want to make money selling footage through a major stock footage platform like Filmpac? This page will walk you through the processs.
Continue Reading
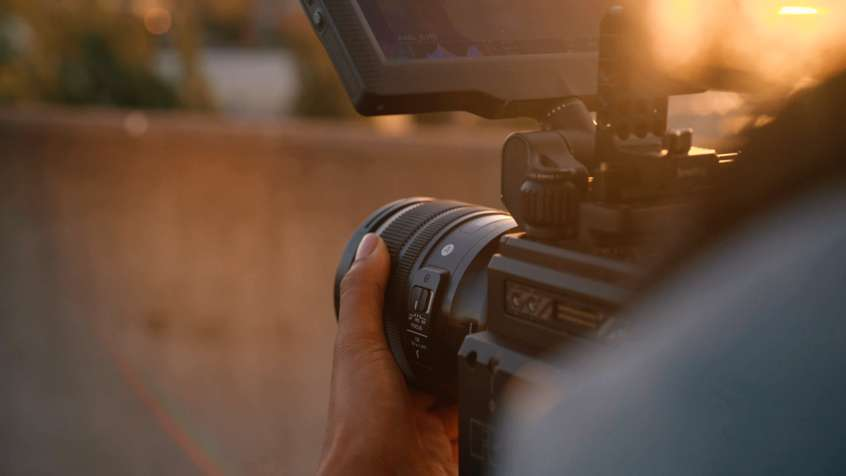
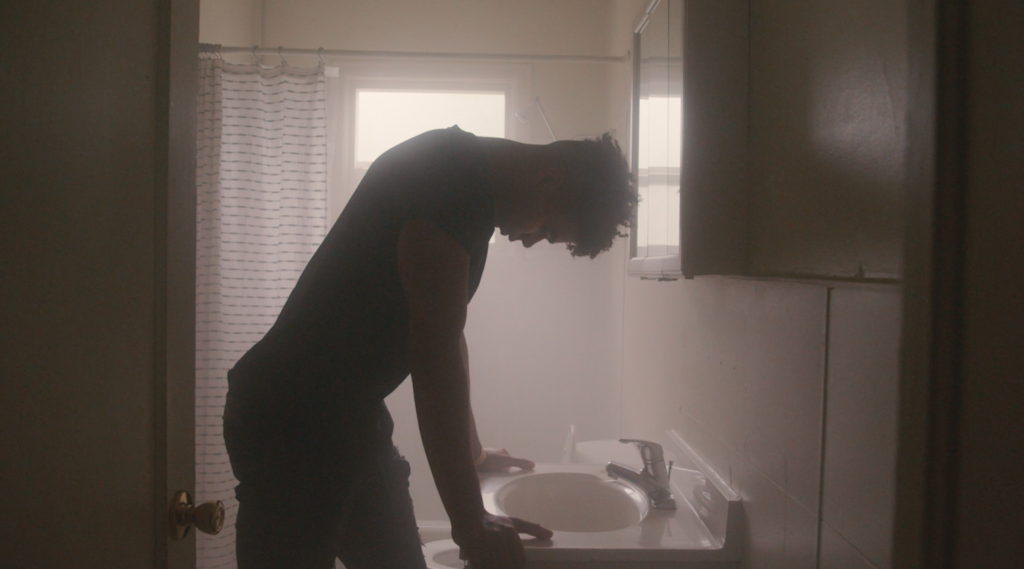
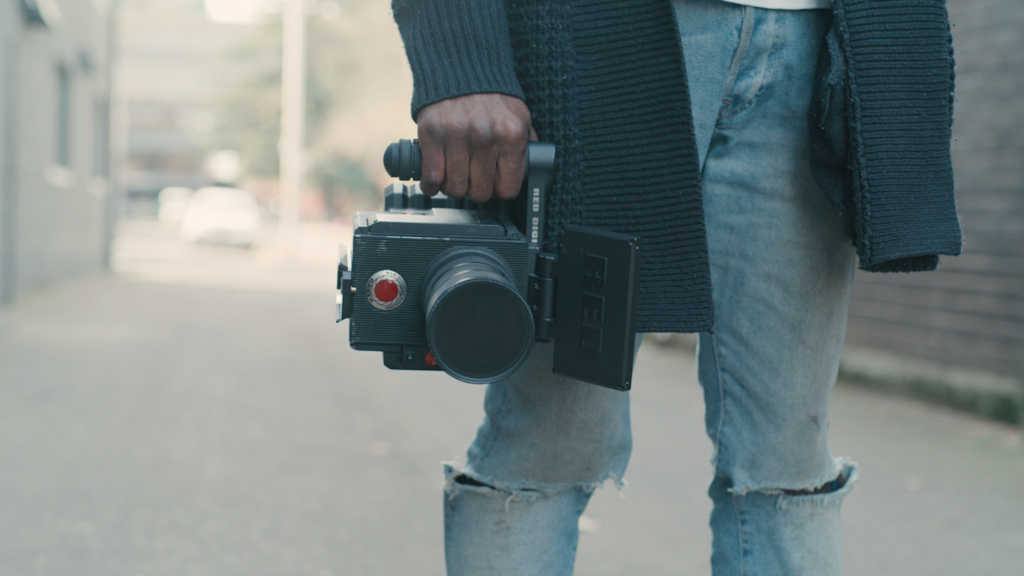
There is no easier type of cinematography than just picking up your camera and pressing record, without any fancy stabilization equipment or tripods. The freedom you have when shooting true handheld video is unmatched, but this technique does come with one big challenge: capturing a steady shot.
Unless you’re purposefully going for a stylized look, too much camera shake will be an instant distraction and ruin your shot, especially with close ups or other shots with long lenses. But there are plenty of ways to smooth things out.
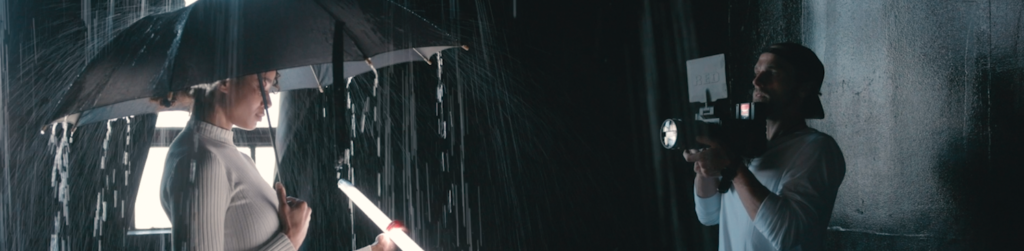
We shoot a ton of our stuff without tripods, steadicams, or gimbals. And we’re going to give you 5 tips to shoot smoother handheld.
Image stabilization, or IS, is the most powerful tool available for handheld cameras. This is an automatic system that smooths out shakes and bumps in your footage, in real time.
There are two types of IS: in-lens stabilization (OIS), and in-body stabilization (IBIS). These mean exactly what they sound like: one stabilization system resides in the lens, the other lives in the camera body itself.
In general, IBIS is stronger and able to tame more extreme movement, but it does have its limits, as well as rolling shutter and “jitter” when the sensor runs out of room to compensate.
OIS has less problems with jitter and artifacts, but its effect is generally much more mild.
In my experience, using a camera and lens combo that combines both systems produces the best results. And these days, most professional grade DSLRs and photo lenses have IS capability.

Beyond real-time stabilization, Premiere Pro’s Warp Stabilizer is a near-magical tool to further smooth out footage in the edit. You can check out our overview and tutorial of it here.
Shooting at a high frame rate (otherwise known as slow motion) is another great way for cinematographers to reduce camera shake.
For example, say your video’s main frame rate is going to be 24fps. If you film your handheld footage at 48fps and then slow it down, your shot will look much cleaner, and any camera movement will be twice as slow and therefore much less pronounced.
And as a bonus, I’ve found that Warp Stabilizer works better when it has more frames to analyze.
When you’re filming handheld, if possible, you should use a wide focal length (we recommend between 24mm and 50mm for the average shot).
These focal lengths are consistently much more forgiving than their tighter counterparts.
No matter how steady your hand is, if you’re filming handheld with a 200mm lens, you’re going to notice some bumps. This is because as the image itself is magnified within the lens, so are the edges of the frame, which in turn amplifies any sudden shakes or bumps that cause the field of view to change.
When you’re planning a handheld shoot, it definitely pays to factor a wide lens into the equation.
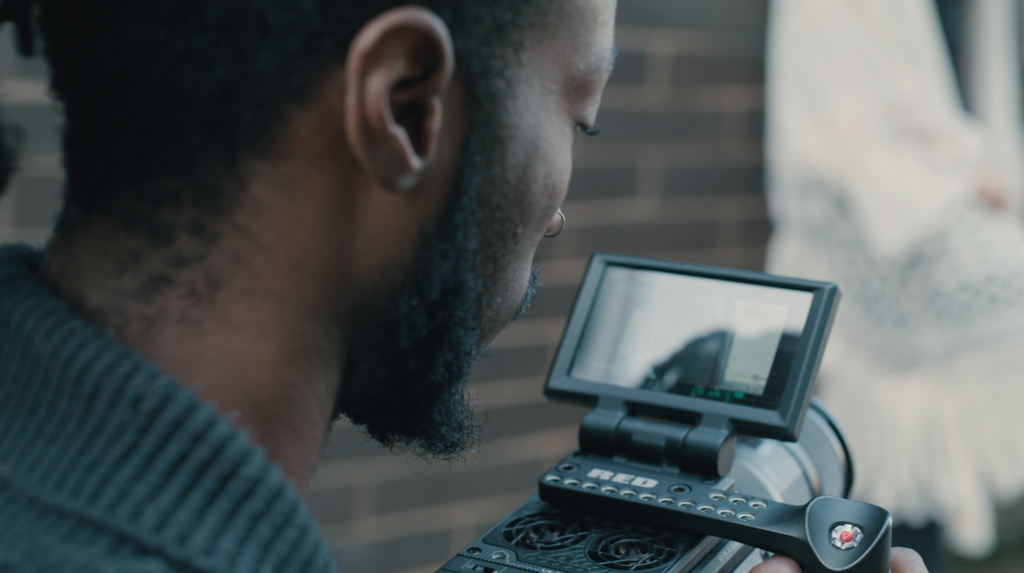
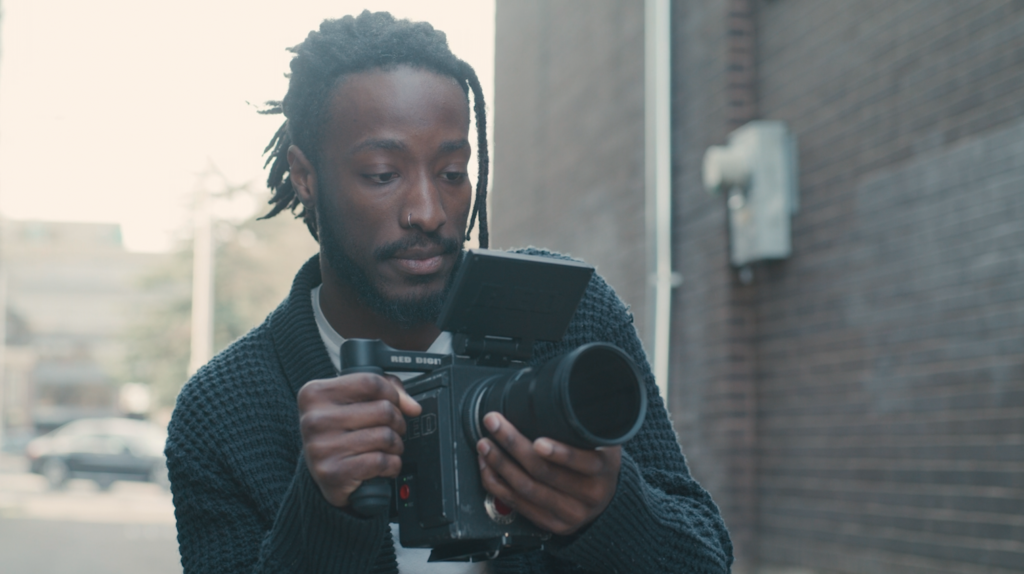
For most small, lighter cameras, having some sort of handle, cage, or battery grip is essential for shooting steady handheld footage. Because the more comfortable you are when you’re filming, the less strain your body will have, and the smoother your shot will be.
Top handles, side handles, and shoulder rigs are the most common.
Every filmmaker’s needs and abilities are different (some people just seem to have a steadier hand than others, and knowing your limitations goes a long way in determining how to rig your camera).
So, there is no one-size-fits-all solution. But rigging your camera in a way that lets the core of your body do most of the work, rather than your arms (a shoulder mount, for example, is a great way to achieve this), should be your primary goal.
And if you don’t want to buy more accessories, one of my favorite tricks is to use the camera strap itself as a stabilization tool; just sling it around your neck or shoulder, hold the camera in front of you at a downward angle at the end of the strap, and all of a sudden, your entire body is supporting the weight of the camera, and your hands are free to simply guide the shot.
My personal favorite handheld tip is one that I’ve begun to just do subconsciously when filming: introduce some subtle motion to the shot to make it more interesting and even to hide some shakiness.
For example, rather than trying to keep the camera in the exact same spot when filming some handheld B Roll, I’ll identify a good motion path (foreground is always a good thing to use) and slowly rock side to side with the camera, making sure that I have a long enough take before changing directions with the camera move.

You don’t want to move your feet when you do this, just the core of your body as far as your legs will stretch. This can also be done with a slight push in, or even a vertical move.
These subtle moves just make the camera shot look more cinematic. And with a steady hand, a comfortable grip, and good stabilization, you can really pull off some looks that would rival a dolly or a crane.
More specifically, I always try to “start” with my body in the most uncomfortable position of the entire move (leaning way away from where my feet are planted, for example) and then move in a way that settles me into the most natural spot. I’ve found that it’s easier to guide the camera this way, and easier to start “fresh” in the most difficult position rather than end at it.
Shooting good, clean handheld footage will open up endless possibilities for you as a camera operator. And practicing these 5 tips is the perfect way to get started with one of the most useful filmmaking techniques: handheld camera work.
Kevin Graham is the Music Director at Filmpac.
Want to make money selling footage through a major stock footage platform like Filmpac? This page will walk you through the processs.
Continue Reading
By far, the two most common frame rates in modern American video editing and production are 24fps and 29.97fps. Here's the difference.
Continue Reading
There are 5 main types of camera movement. We break each of them down and show you how they can help you tell your stories better.
Continue Reading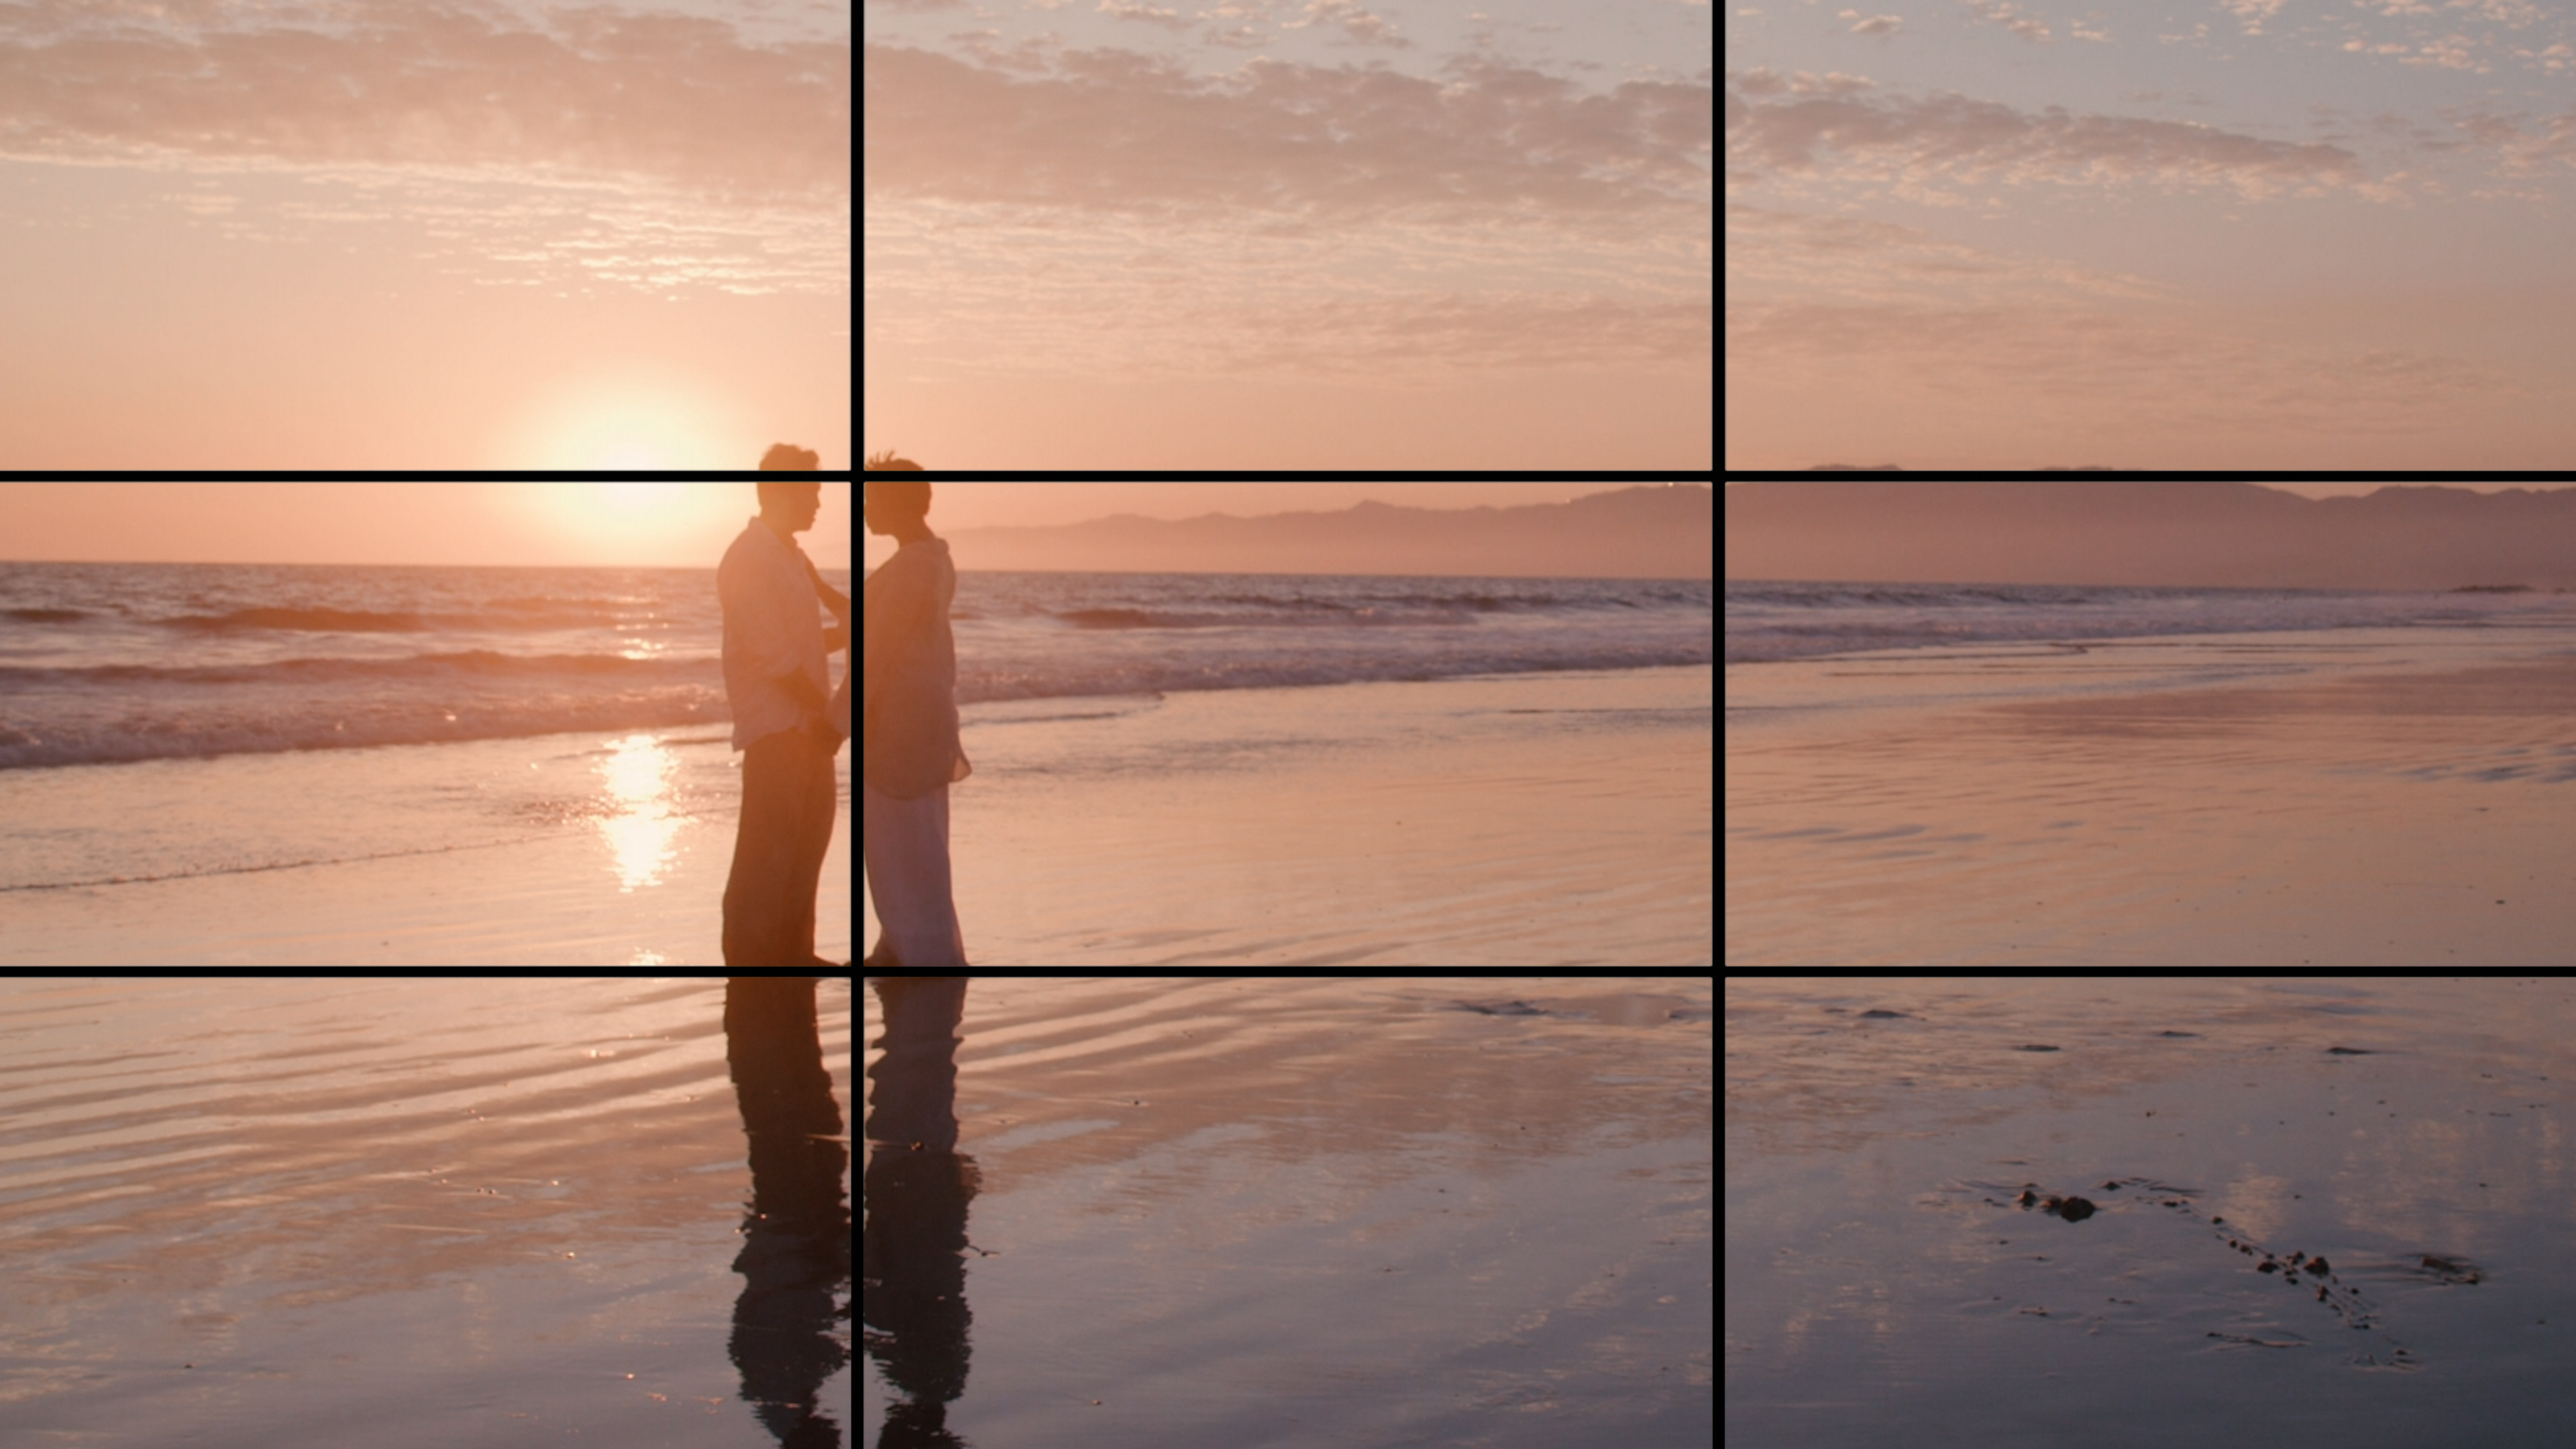
If you’re a photographer or filmmaker, you’ve likely heard of The Rule Of Thirds. here's a guide on how to apply it and when to break it.
Continue Reading
One of the most difficult parts of being a professional filmmaker is effectively managing and budgeting your time.
Continue Reading
Want to make money selling footage through a major stock footage platform like Filmpac? This page will walk you through the processs.
Continue Reading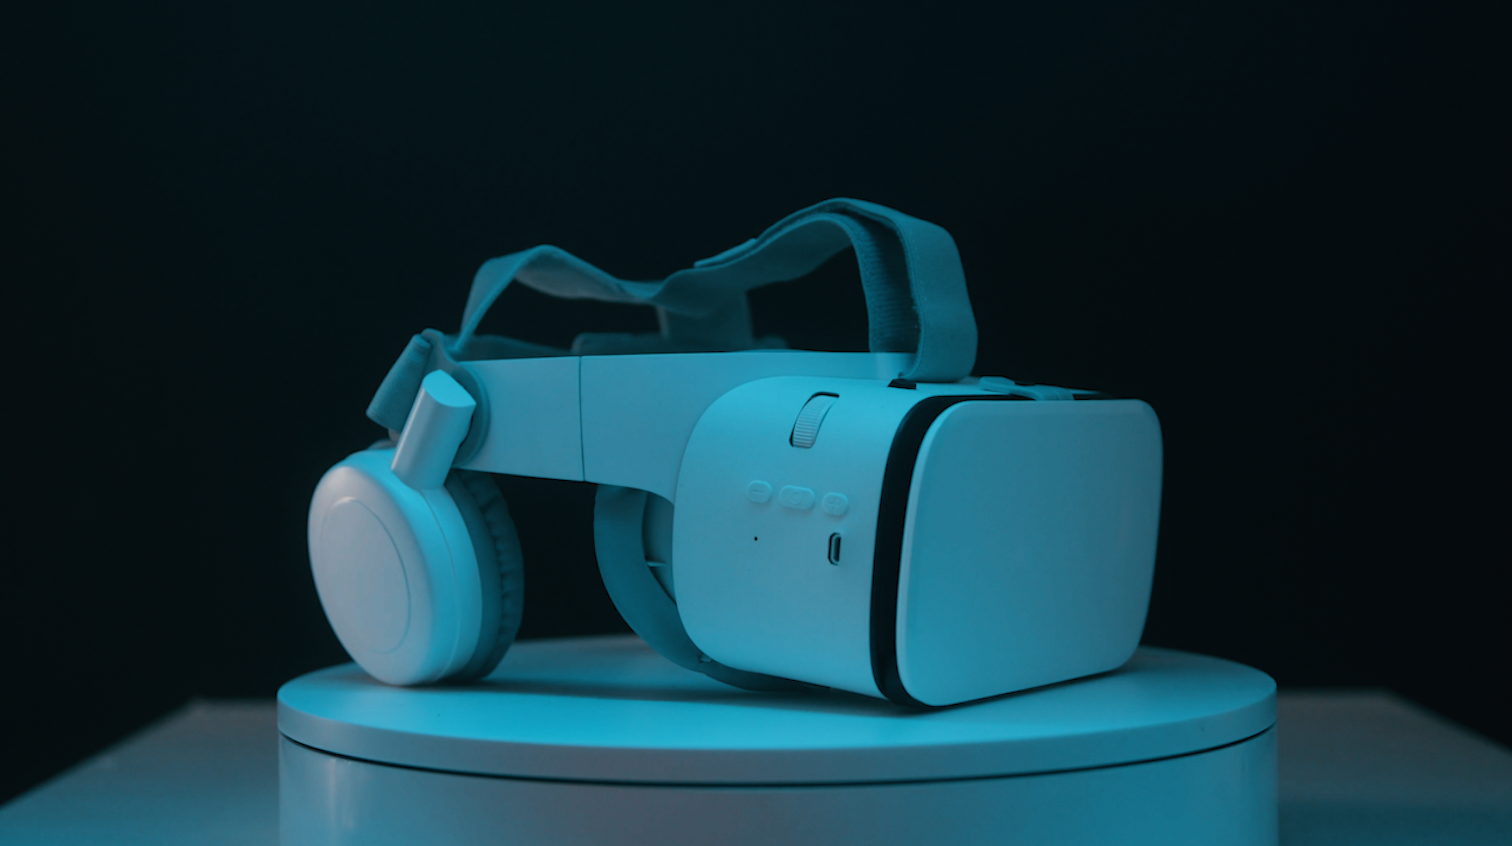
Virtual reality could be the biggest shift in the way we consume our content since the proliferation of the smartphone.
Continue Reading