
What Are Keyframes In Video Editing?
Keyframe: 101
In any video edit that includes motion, compositing, transitions, or animations, the thing that makes all of this movement possible is the use of keyframes. In fact, keyframe animations are arguably the most common type of motion graphic in filmmaking and post-production.
Keyframes are simply markers that signal where an animation movement starts and ends.

And an animation can be defined as a controlled change of any video parameter, from opacity, to scale, to motion, and even to individual effects controls.

For example, if you want an image to move across the screen, you would set a keyframe at its positional start point, and then another keyframe at its end point. How far apart these keyframe animations are determines when and how fast the movement takes place.
And you can use interpolation (commonly known as bezier or easy-ease) to smooth out your movements, or to create smooth transitions.

You can create complex paths using multiple points, and every major video editing program allows for the easy creation of keyframes.

Once you become familiar with keyframes and all of the controls they can be applied to, you’ll add another dimension to your editing, and your videos will be better for it.
Keyframe Tutorial
Here’s a step-by-step tutorial on creating a keyframe animation:
Step 1: Identify what you want to animate
In this example, we’re going to animate the position of some text from one side of the screen to the other. We’ll be using Adobe Premiere Pro, but the same method and presets to create keyframes apply for any video editing software, including Adobe After Effects.
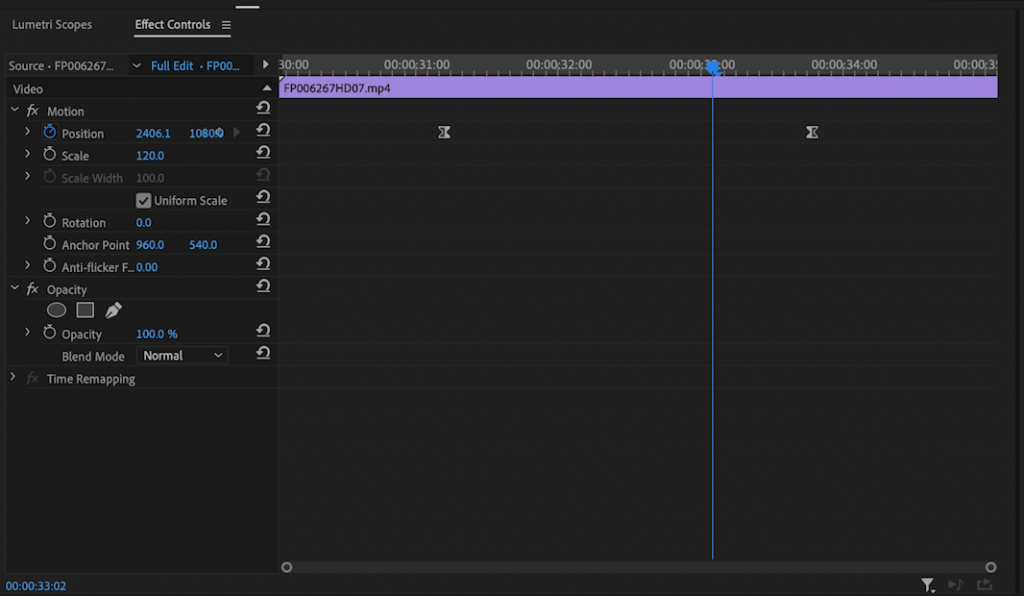
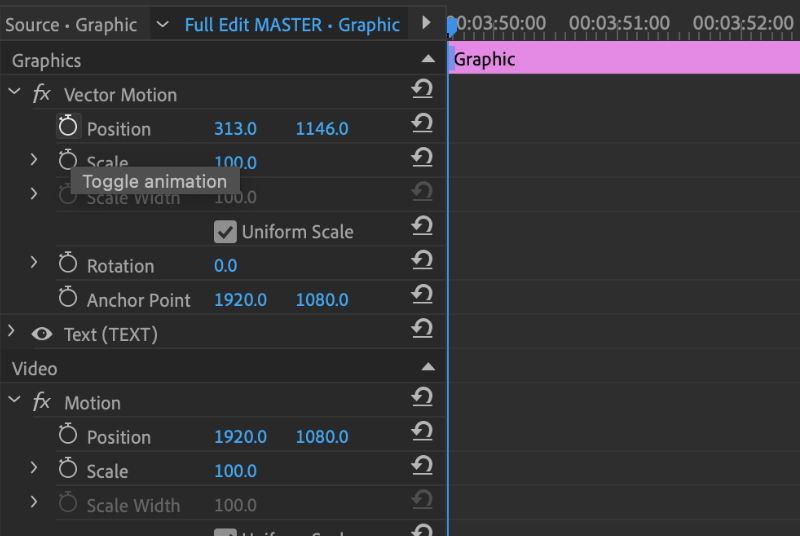
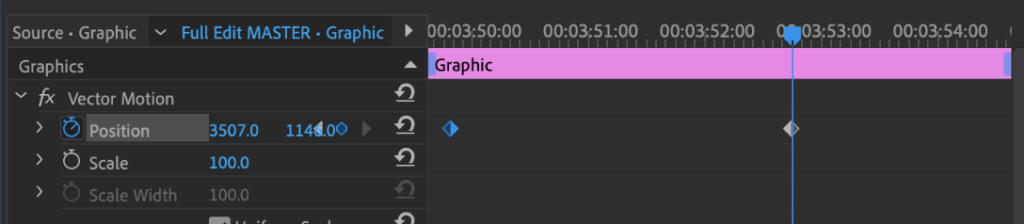
Step 2: Create your first keyframe (also known as an anchor point).
Once you position the text in the animation’s starting position, create your first keyframe by clicking on the new keyframe icon.
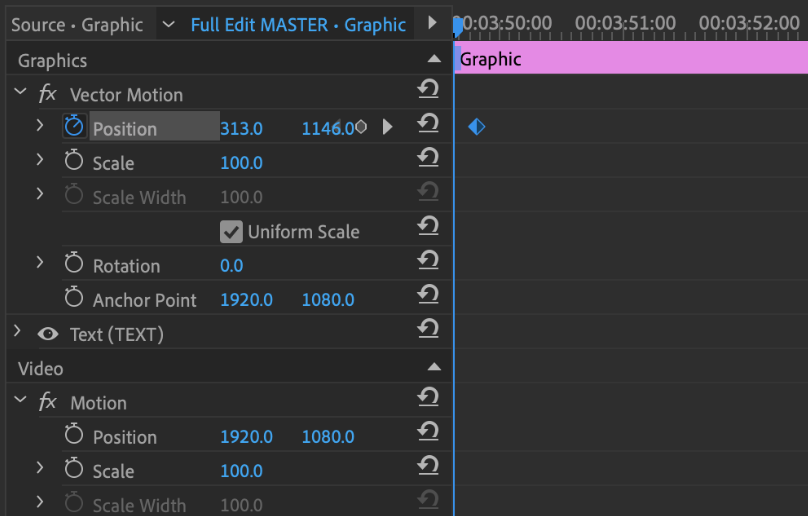
Step 3: Create your second keyframe.
Move your selector to the point on your timeline where you want the animation to end, and then adjust the position of the text to where you want it to move to. A second keyframe will automatically be generated (creating the ending position), and the space in between the two is where the animation will take place.
Step 4: Refine Your Keyframe Interpolation
You can adjust the speed and timing of the animation by moving either keyframe or adjusting the position, and you can right click on a keyframe to add a bezier, ease in, or ease out (which is very common in professional video editing). You can even add additional keyframes in between to alter the object’s position further.

Summary:
Compositing keyframes is a skill that any video editor will benefit from. From seasoned professionals to beginners, keyframes are found in almost every digital video project.
There is always plenty of room to experiment with different techniques, but this guide will give you all the basics you need to get started.
Kevin is the Music Director and Lead Composer at Filmpac.