The Filmpac Ad Challenge
We know you work hard at your craft, and we want to invite you (yes YOU) to show us what you've got in our 10-day Ad Challenge!
Continue Reading

One of the most-talked-about aspects of filmmaking and video editing is color. LUTs, curves, wheels, nodes, saturation, and dynamic range are some of the specific words you’ll see. You’ll come across countless videos, tutorials, articles, and resources dedicated to the color process.
And this is for good reason.
Once your footage is shot and your cards are transferred, color is arguably just as important to the quality of your finished video as the edit itself. Just like with sound, if your video has bad color, no amount of polished cinematography and cinematic editing will be able to mask that.
But on a big-picture level, there is often some confusion between these two broader terms: color correction, and color grading.
In the video above and in this article, we define each and explain how they’re different.
Color correction is the process of normalizing, or “correcting” raw footage to appear consistent throughout a timeline and realistic to the human eye. These alterations used to be made to physical strips of film in development. But these days, with digital cameras, the video editor does this with software.
Color correction is usually done with alterations to white and black levels, and changes to color temperature. This is also commonly done with color correction LUTs, especially if you’re working with converting raw or LOG footage (such as Sony’s S Log) to accurate color.
You can download correction LUTs for just about any camera profile these days. These are generally quick to use and fairly reliable.
For example, let’s say you filmed a scene in a LOG footage profile (basically, a flat image profile that contains a large amount of color data and dynamic range). You’d need to increase contrast, saturation, and possibly adjust your color temperature to make that video footage look the way it did in real life.
Color correction is generally not meant to be a creative workflow; it is simply the act of making your footage look “correct” and giving you a reliable starting point for further color work.
Many color tools, such as Premiere Pro’s Lumetri, have automatic white balance features to speed this process up. This can be further expedited when using a camera with the ability to automatically adjust its white balance based on a white or grey card in the shot prior to filming.
Color grading can basically be thought of as an optional second step to color correction; this is where the colorist crafts the “look and feel” of a whole video.
Blackmagic Design’s DaVinci Resolve, Adobe After Effects, and Adobe Premiere Pro are generally the apps used professional editors and colorists.
If you’re wondering how to color grade, this process generally uses the same tools as the color correction process, but in a more extreme manner. This step is meant to significantly alter the color of your film (or even any given scene) to enhance the style and create a visual mood for the viewer.
A powerful tool when it comes to color grading is the color wheel. Color wheels are typically broken up into three individual controls: shadows, mid-tones, and highlights. You can adjust the hue, saturation, and luminosity of each of these independently, which enables you to control the color of an image much more than with making global adjustments. Creating color contrast between different parts of your image is a great way to add interest.
Another powerful color grading weapon is the secondary tool. This allows you to surgically alter the characteristics of a specific color within your shot, usually selected with a dropper. This is a great way to tame some oversaturated elements of your composition, or to fine-tune your subjects’ skin tones. There are also some types of curves adjustments that allow you to isolate a specific color and make these types of adjustments.

Most feature films (and many videos) have a color profile that is more dramatic and pronounced than what you would see in real life.
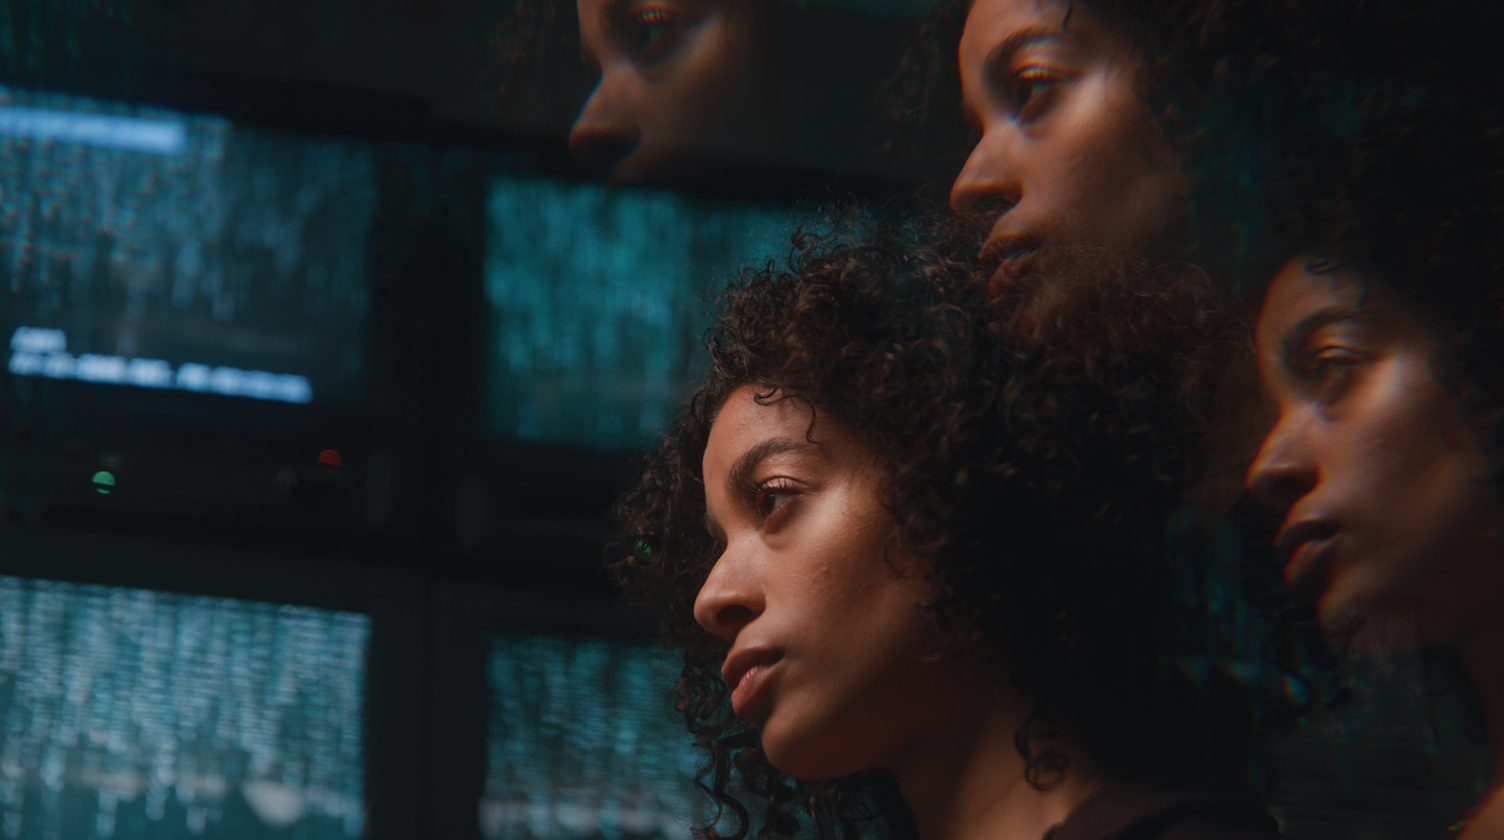
The most common iteration of this is the cool shadows and warm mid-tones of many modern action movies. Blue and yellow are opposites on the color spectrum, making this particular style visually-appealing down to a scientific level!
On the other hand, you’ll notice that a lot of horror movies have contrasty but desaturated looks. This subconsciously makes the viewer feel uneasy, and helps the movie achieve its goal of scaring you.
Color grading is arguably the most important part of the post-production process, because this is where your edit gets its character and a big part of its identity.
And within any given film or stock video, there will likely be many different locations, moods, and interactions, all of which can be further distinguished and accentuated with their own unique color grades.
One of the most famous and dramatic examples of scene-by-scene color grading happens in “The Wizard Of Oz”. The film begins as completely black and white, but as soon as the main character gets to the Land of Oz, the film becomes full color. This completely differentiates the two places and gives each their own unique character.

While color correction and color grading are similar processes, but they serve different purposes in your project. Color correction is necessary at a minimum, and color grading can really take things to the next level.
While these terms are often interchanged, it is important for any beginner or experienced filmmaker to understand the distinct role that each plays within post-production. Filmpac even has several free videos that you can download and practice both processes with!
And when they are both are used correctly together, your films will have even more character and look even more professional.
Kevin is the Music Director and Lead Composer at Filmpac.
We know you work hard at your craft, and we want to invite you (yes YOU) to show us what you've got in our 10-day Ad Challenge!
Continue Reading
When it comes to professional video editing in the 2020s, two powerful software options stand out: Adobe Premiere Pro vs. DaVinci Resolve.
Continue Reading
As content creators, the computers we use to edit our videos are just as important as the cameras we use to film. Here are our favorites.
Continue Reading
By far, the two most common frame rates in modern American video editing and production are 24fps and 29.97fps. Here's the difference.
Continue Reading

One of the most difficult parts of being a professional filmmaker is effectively managing and budgeting your time.
Continue Reading
Want to make money selling footage through a major stock footage platform like Filmpac? This page will walk you through the processs.
Continue Reading
Virtual reality could be the biggest shift in the way we consume our content since the proliferation of the smartphone.
Continue Reading