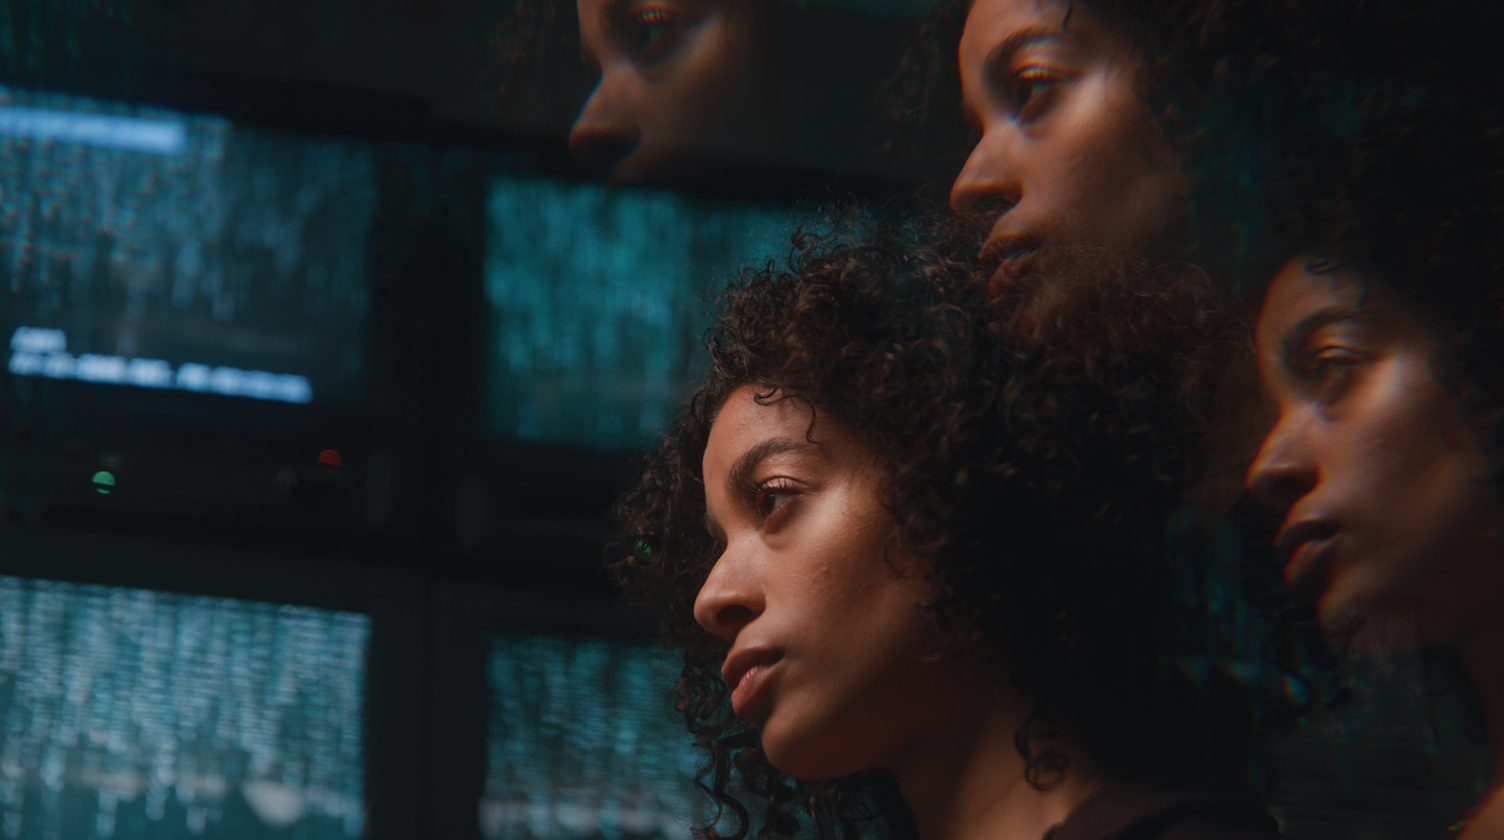
The Filmpac Ad Challenge
We know you work hard at your craft, and we want to invite you (yes YOU) to show us what you've got in our 10-day Ad Challenge!
Continue Reading
By Kevin Graham
From local TV stations to national cable syndicates, creating a video for TV or streaming broadcast can be a much different process than simply uploading to YouTube.
Beyond knowing how to deliver the final file, there are both technical and aesthetic considerations to keep in mind for the video itself. And if you don’t know what you’re doing, things can get very frustrating, very quick.
So today, we’re going to share 4 things you need to know about making broadcast commercials.


Safe margins, or “title safe”, refers to the large central portion of the image where all text and important info should be displayed, roughly 80%-90% of the overall screen (depending on the aspect ratio).

Why is it so important to pay attention to this? Because some TVs and screens slightly crop an incoming image, and they all do so differently. The last thing you want is for an important title, phone number, or other element to be invisible on the viewer’s device, because it was too close to the edge of the screen.
Luckily, most cameras have a built-in title safe overlay, so you can be mindful of this while framing your shots on set. And all major editing programs have this overlay option as well, so you can keep all the important stuff inside the lines.


In a world where your video could be viewed on anything from a 4k screen to an old 4×3 TV, title safe is still an important and relevant tool for broadcast video creators.
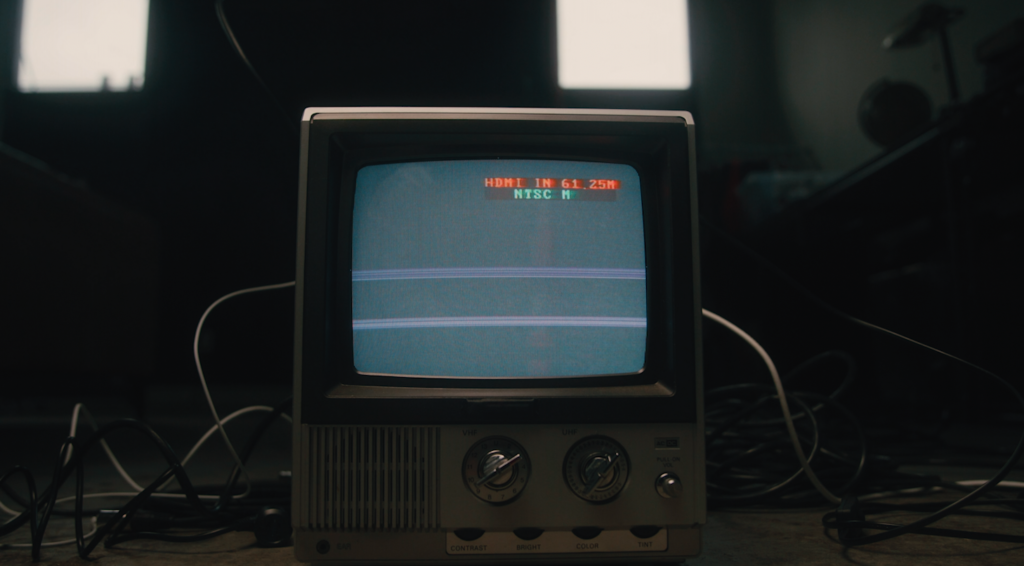
Another thing to keep in mind is color; your video may look different on your TV vs on your computer or monitor screen.
The big thing to start with is ensuring that your computer screen and software are working in a Rec. 709 color space, as this is the standard that broadcasters adhere to. This is the default for most systems, but it’s worth double checking.

The next, more practical part of the color process is to simply check your work on a TV (or two or three), and make adjustments before sending it out.
Again, no two TVs are exactly the same, but I’ve personally found that most TVs boost contrast and saturation quite a bit, so you may want to send a mellower grade out the door.


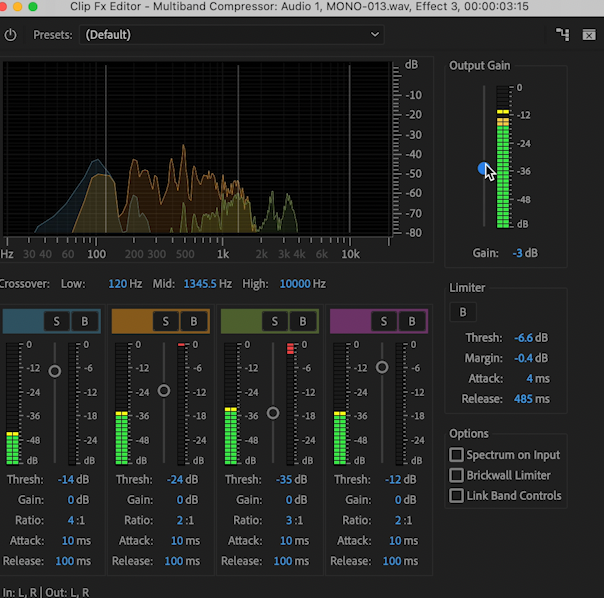
Depending on the broadcaster, there may actually be broadcast standards for saturation levels, which are measured by a vectorscope. You’ll need to make sure that your color saturation does not exceed the acceptable levels, or your file may be rejected.
While there are usually technical (and even legal) limitations to how loud your audio is supposed to be, I’ve found that anything outside of national cable and streaming is sort of the Wild West when it comes to loudness.
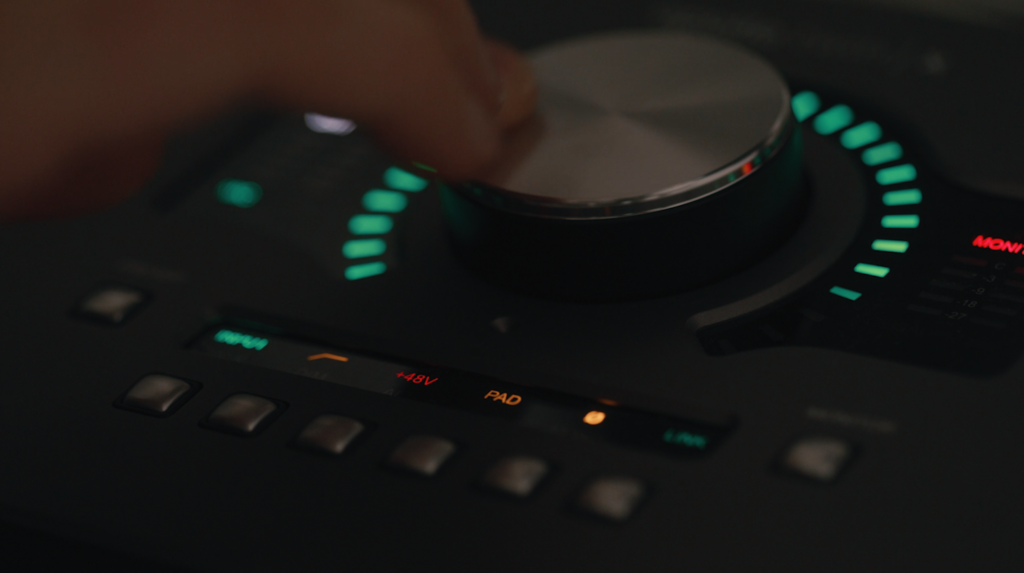
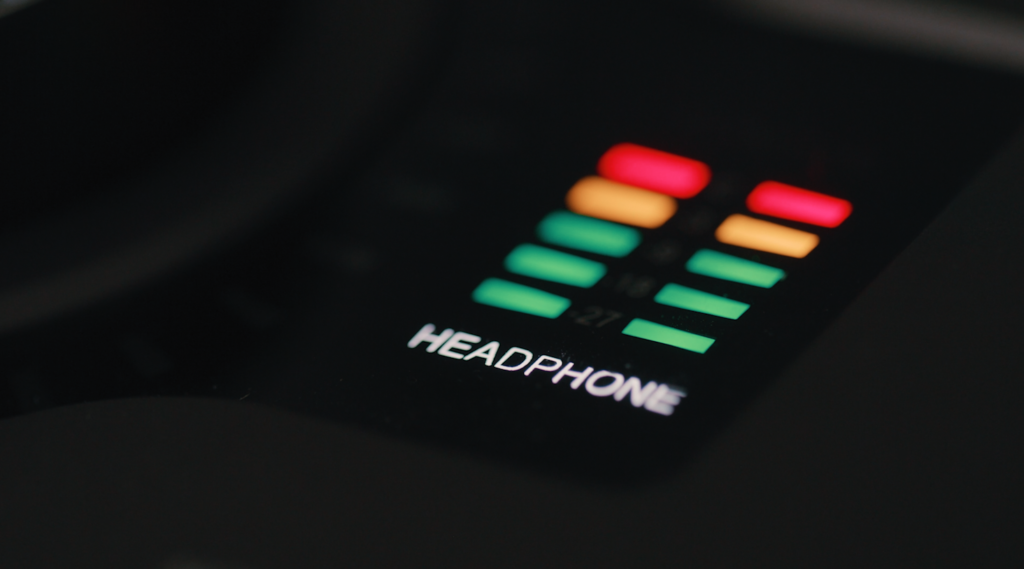
Basically, if you’re working on a local or regional project, you just want your audio to sound as loud as possible, without clipping, because everyone else will be doing the same thing. You can use a limiter or maximizer to get your audio up to an acceptable level; there are even some great presets within Premiere Pro to get you on the right path.
Another thing I’ve found is that the broadcast pipeline and TV speakers in general tend to mute the highs and make your audio sound muddier than it did in your speakers or headphones. Because of this, my broadcast mixes will almost always be much brighter than my mixes for web use.
Again, a great way to experiment is to check your work on an actual TV.
Perhaps the most important part of the broadcast delivery process is an attention to detail. Knowledge of the station’s requirements for file types, codecs, frame rates, and other specs will help you avoid any last-minute scrambling to change the file.

Most importantly, almost all broadcasters will require a 29.97 frame rate, so if you didn’t shoot your project at this frame rate, you’ll need to make sure you convert your timeline before exporting.
I typically film at 24fps, and then export at 29.97 for broadcast. Premiere Pro’s 2:3 pulldown function makes this easy; it adds duplicate frames to preserve that classic 24fps look in a 29.97fps file.
Broadcasters will also have a list of acceptable file types and codecs, so you’ll need to make sure you’re exporting using one of them. Depending on the file delivery method (email, FTP, online portal, etc.), your final file size can be a factor as well.
Lastly, you’ll want to make sure your file is the exact correct length, down to the frame. If your client purchased :15 second spots, and your file is a single frame over :15 seconds, it will likely be rejected.
And since broadcasters usually need files 24-48 hours in advance of them airing, it’s important to make sure everything is good to go the first time around.

Broadcast work can be intimidating for new content creators. But these 4 tips will give you the basic knowledge to create and deliver a flawless broadcast commercial.
Kevin is the Music Director and Lead Composer at Filmpac.
We know you work hard at your craft, and we want to invite you (yes YOU) to show us what you've got in our 10-day Ad Challenge!
Continue Reading
When it comes to professional video editing in the 2020s, two powerful software options stand out: Adobe Premiere Pro vs. DaVinci Resolve.
Continue Reading
As content creators, the computers we use to edit our videos are just as important as the cameras we use to film. Here are our favorites.
Continue Reading
By far, the two most common frame rates in modern American video editing and production are 24fps and 29.97fps. Here's the difference.
Continue Reading

One of the most difficult parts of being a professional filmmaker is effectively managing and budgeting your time.
Continue Reading
Want to make money selling footage through a major stock footage platform like Filmpac? This page will walk you through the processs.
Continue Reading
Virtual reality could be the biggest shift in the way we consume our content since the proliferation of the smartphone.
Continue Reading