
The Filmpac Ad Challenge
We know you work hard at your craft, and we want to invite you (yes YOU) to show us what you've got in our 10-day Ad Challenge!
Continue ReadingBy Kevin Graham
You’ve just completed your edit. You’ve carefully crafted the footage, dialogue, music, and sound effects to perfectly match your story.
And now it’s time to export that final master.
But before you do, you owe it to yourself to ensure that your video will sound its absolute best wherever it’s being viewed.
Today, we’re going to tell you how to deliver a great sounding video.
The first trick is using EQ to combat the buildup of low and mid frequencies in your dialogue. Left unchecked, these frequency buildups can make your audio sound muddy.
Every sound and voice is different, but in general, most voice recordings will need some EQ applied in order to sound crystal clear.
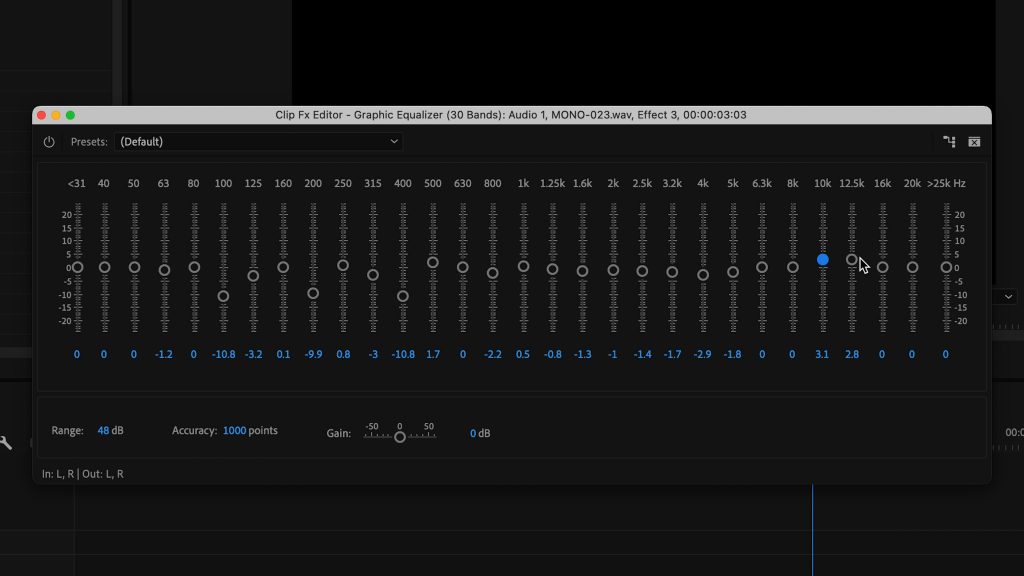
Narrow, deep cuts anywhere from 100 – 400 Hz will generally improve clarity. And wider, gentler cuts in the 1,000 – 5,000 Hz can reduce harshness and make for a smoother sound. In some cases, you may even need to boost some high frequencies to really make your VO cut through the mix.
All major editing platforms have a ton of built-in EQ effects, so try experimenting with presets and individual controls to find that perfect sound.
While EQ on individual tracks can cut down on problem frequencies, you still need something to help glue all of your sounds together, and get your video to the correct loudness level.
This is where multiband compression comes in. Basically, this is a dynamic effect that limits certain frequency ranges when they cross a certain threshold, all of which can be customized.
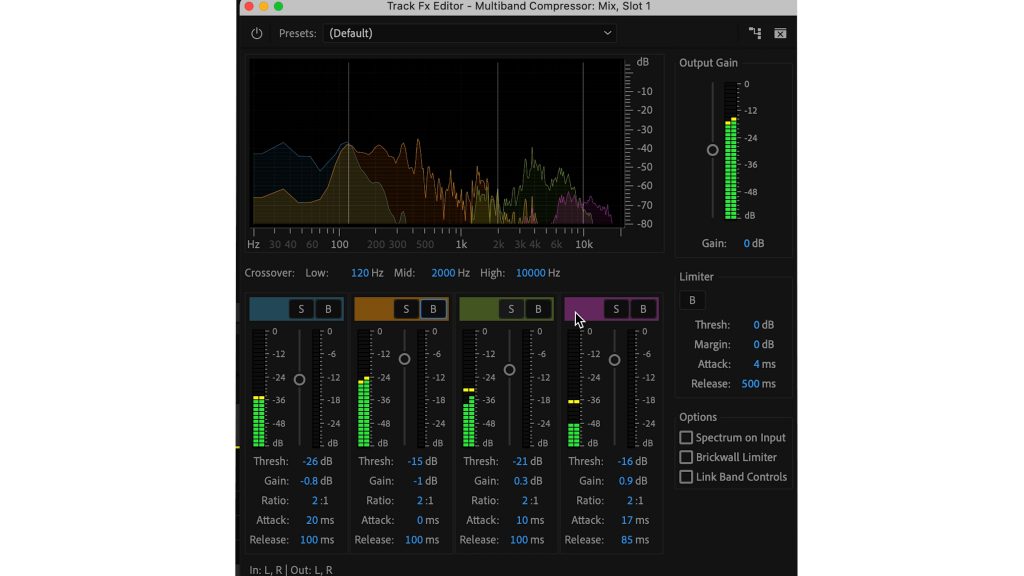
You can apply this effect to your master mix, which will normalize your audio levels and ensure that your mix remains consistent throughout.
For example, this audio has no multiband compression. But this audio has multiband on the master track.
This is especially helpful if you’re delivering for broadcast.
And speaking of,

It is critical to understand how your video is going to be distributed and viewed.
If you’re delivering for broadcast or OTT streaming, for example, you generally will want your mix to be loud, compressed, and bright.
But an internet ad, short film, or YouTube video can generally have much more dynamic range.
Before exporting your video, try to find a few other videos within your intended distribution system to use as loudness references.
It also pays to know the types of listening environments that your viewers will be in.
Will they come across your video while scrolling on their phone? Could they be using headphones? Will they hear this ad in their car or on their television?

A great strategy for getting your audio to translate well to multiple environments is to check your mix in multiple places. Pick 3 likely listening environments and try to make your mix sound as good as possible across all of them.
For example, your headphones may reveal some muddiness that your computer speakers didn’t.
You’ll probably be mixing most of your videos yourself, but it is important to understand how to work with a separate sound mixer should the option become available or needed.
This will involve you exporting and sending an audio-only project file, such as an OMF, to the sound mixer, along with a reference video file and a rough mix.
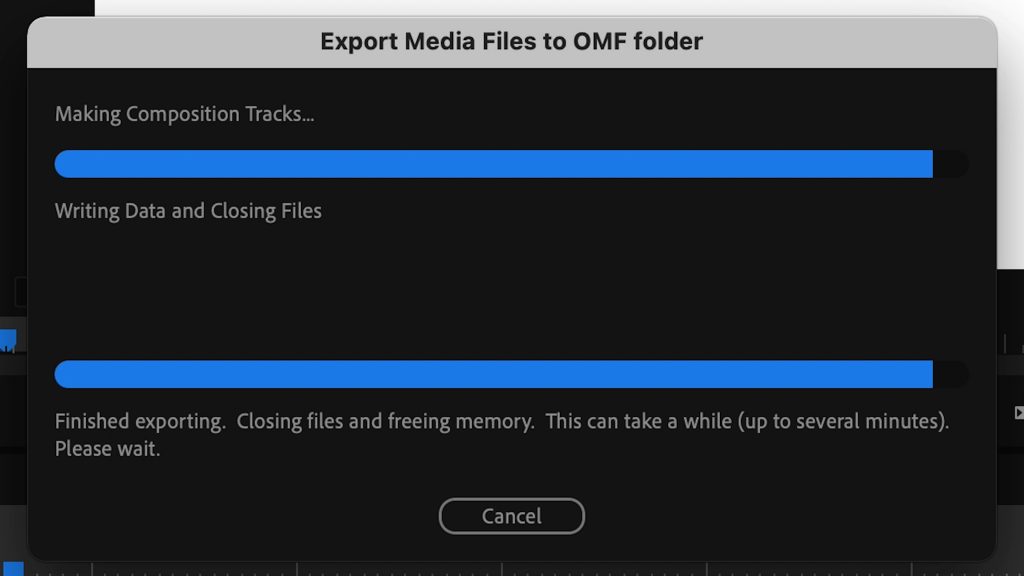
It is important that you organize your audio before doing this by keeping similar sounds on the same tracks and disabling any temporary audio effects.
When exporting these files, you’ll want to keep audio handles to allow editing flexibility, and your sound mixer may or may not prefer you to leave your automation data and fades.

We hope that these tricks will help take your carefully-designed mix and translate it into a great sounding video for your viewers.
Kevin is the Music Director and Lead Composer at Filmpac.

We know you work hard at your craft, and we want to invite you (yes YOU) to show us what you've got in our 10-day Ad Challenge!
Continue Reading
When it comes to professional video editing in the 2020s, two powerful software options stand out: Adobe Premiere Pro vs. DaVinci Resolve.
Continue Reading
As content creators, the computers we use to edit our videos are just as important as the cameras we use to film. Here are our favorites.
Continue Reading
By far, the two most common frame rates in modern American video editing and production are 24fps and 29.97fps. Here's the difference.
Continue Reading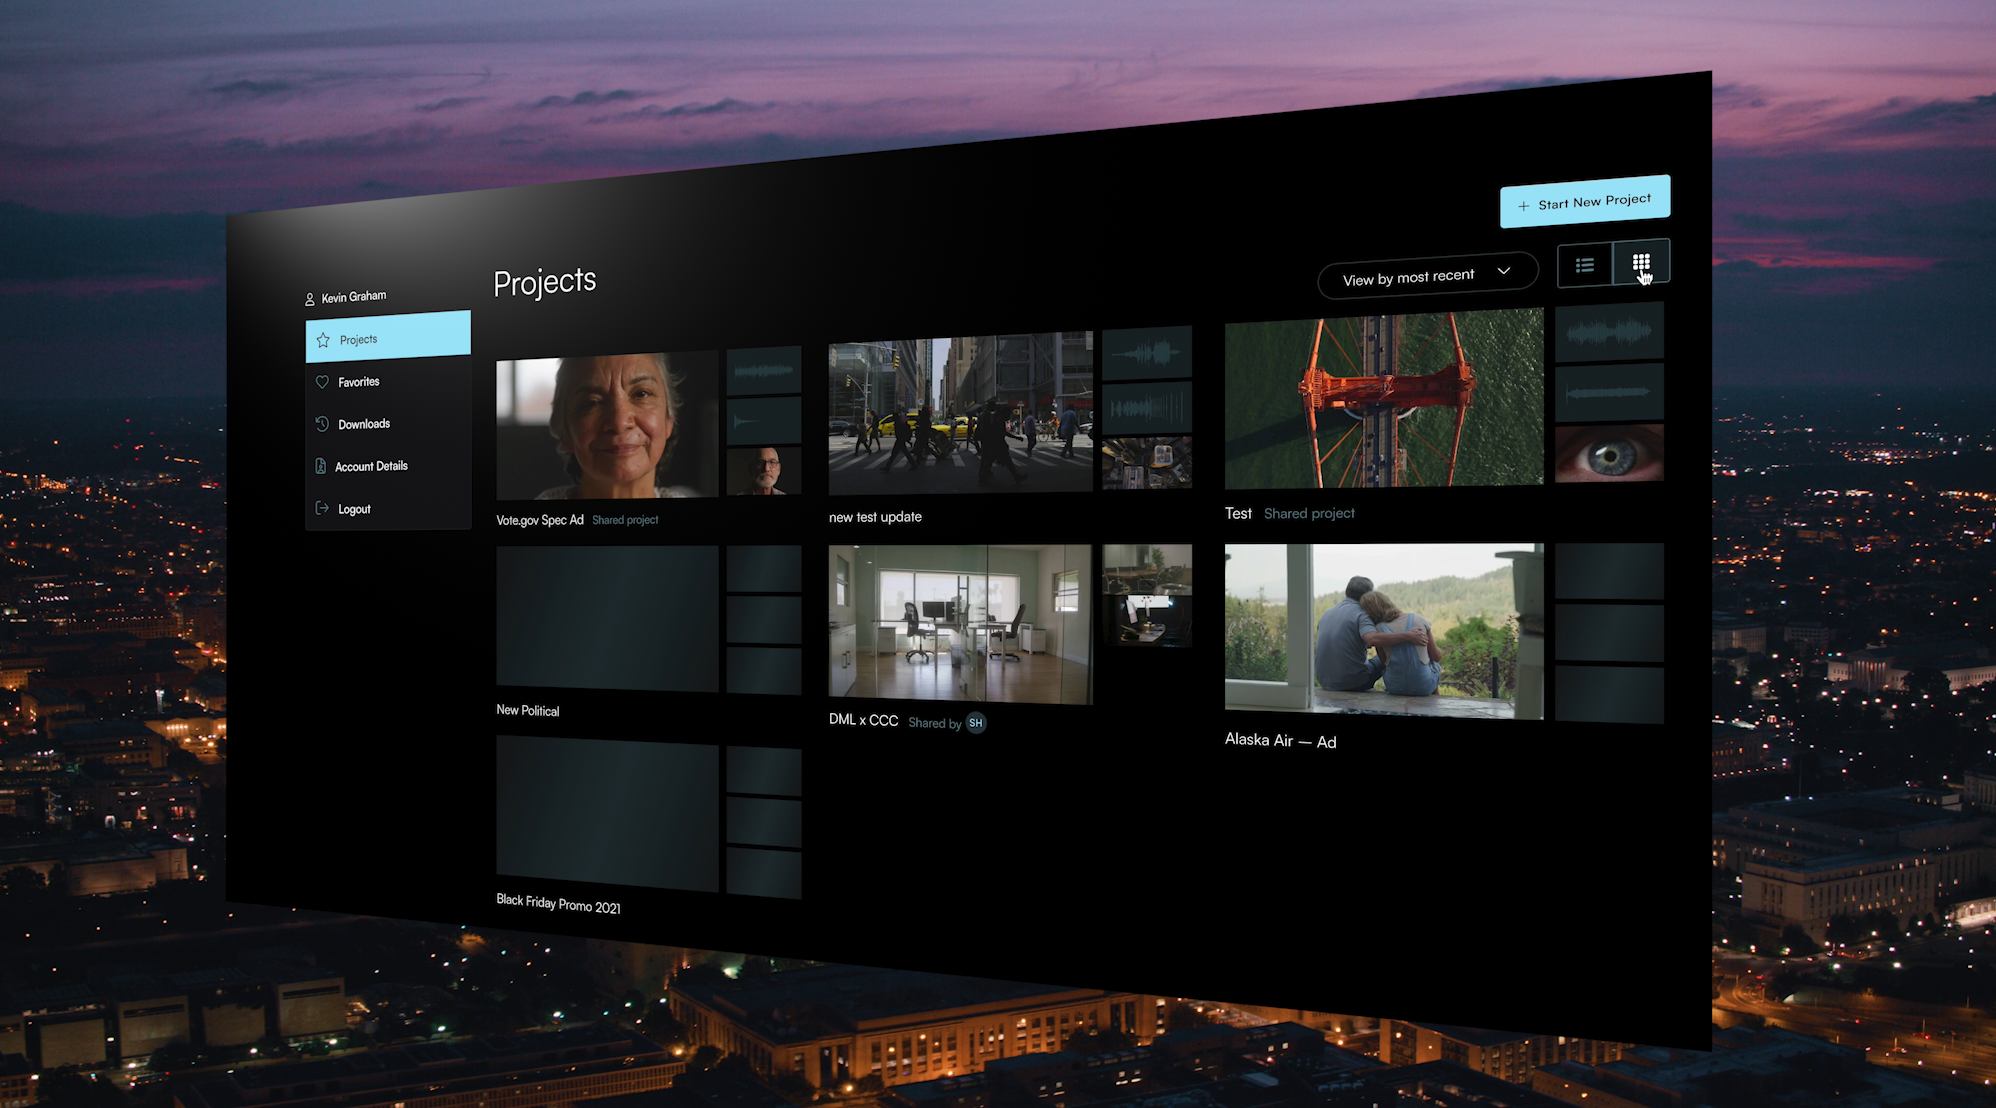
Filmpac’s newly-designed Project Feature is a powerful tool for collaborative video editing. Here’s a quick rundown of how it works.
Continue Reading

One of the most difficult parts of being a professional filmmaker is effectively managing and budgeting your time.
Continue Reading
Want to make money selling footage through a major stock footage platform like Filmpac? This page will walk you through the processs.
Continue Reading